100% DIY jet boat
I decided to make a boat with a jet propulsion. I saw a lot of pictures of boats on the Internet, and work began. The first time I draw a boat hull in SolidWorks, all sizes are arbitrary.
I built the model using planes, then stitched them into a whole body. So far, only the hull has been made, we still need to draw a cabin. A boat will pass water tests, then I’ll take care of the upper part of the hull.
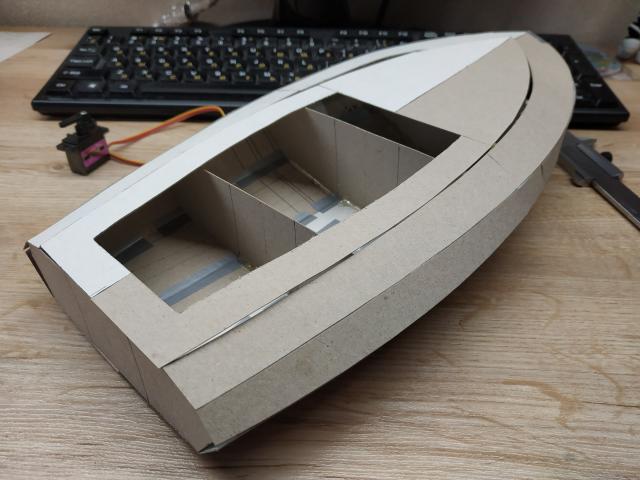
I thought for a long time to print the case on a 3D printer or to do it manually. It’s easier to print, but I decided to do the first boat with my own hands. I used cardboard as the main material, I can’t put it in a regular printer, so I attached a gel pen to the 3D printer and drew the necessary details.
Using double-sided and reinforced adhesive tape, glued two halves of the body. The result was good, even despite the fact that in some places the details did not agree. The most difficult thing was to glue the nose, glued with tape, then hot-melt adhesive, the tape melts and spreads from the heat.
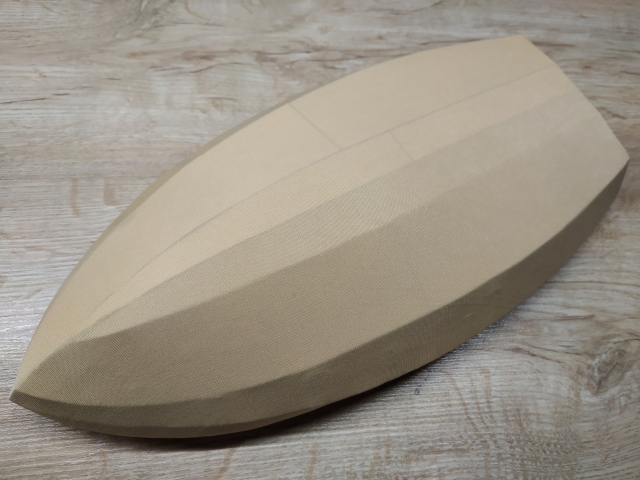
Then I covered the case with fabric and saturate it with acrylic varnish, this should have added rigidity to the case, but I made one very serious mistake. The fact is that cardboard from any paint or varnish will swell and warp, it happened to me, the whole body went in waves. It was necessary to glue the case completely with tape, then the water would not have got into the cardboard and everything would have been fine. Or it was necessary to use epoxy resin, cardboard does not warp from it. And if for construction use stiffer cardboard or thin plastic, then you could just glue the case with colored tape.
It is very difficult to create a case with such geometry with your own hands. I spent half a day on a cardboard boat. No other simple boat assembly options have come to mind yet. There remains the option to print the case on a 3D printer. In general, it’s very cool that we came up with this way of creating plastic products, this greatly facilitates the process of creating things.
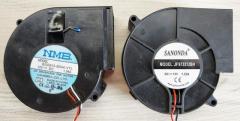
As I printed, assembled and tested the jet propeller, see the previous video on the channel.
Add comment
Random DIY
-
 A beautiful, voluminous heart of paper can be glued together in a couple of hours.
 -
 It’s 2024, stores are already selling robotic vacuum cleaners, and you can even buy used ones for a reasonable price. And I still dream of assembling my own robot vacuum cleaner with my own hands.
 -
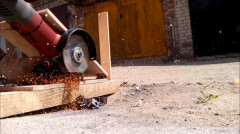 This device helped me to saw a bundle of rolled metal at an angle of 90 degrees without effort.
 -
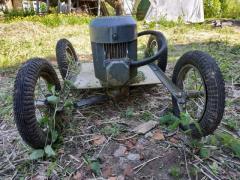 I made this powerful lawnmower myself for the village, there is always a lot of high grass, which is not rational to fight with the usual manual trimmer. This animal mows down everything, tough grass, small trees, levels of hills, covered with moles, and even turns old bricks out of the ground.
 -
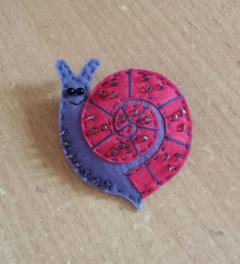 I had a new passion - brooches of felt. Such small, lovely - they can be an independent gift or an excellent surprise to the main.