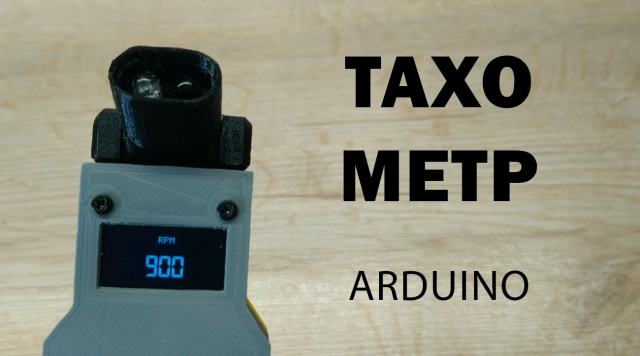
Arduino tachometer with optical gauge
I need a tachometer to calculate some mechanisms. For example, to calculate the speed of a robot vacuum cleaner, you need to know the rotation speed of the electric motor and, based on this, calculate the gear ratio of the gearbox.
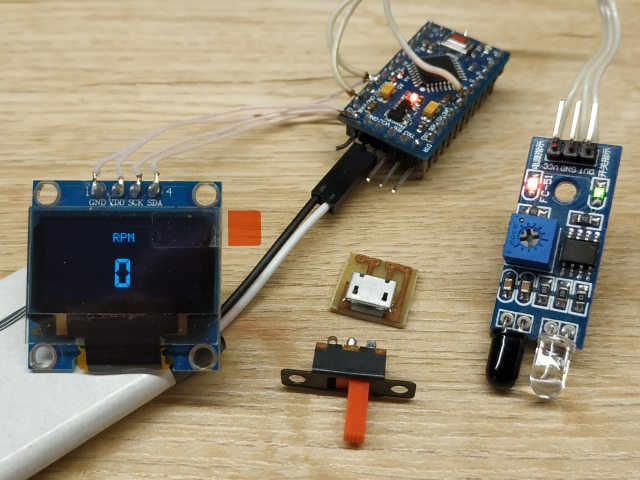
I decided to make a tachometer on Arduino, it is certainly financial and labor-intensive, but very interesting, plus the freedom of development. Faster and easier buy a tachometer in China. If you still decide to repeat my project, then here is a list of parts for a homemade tachometer:
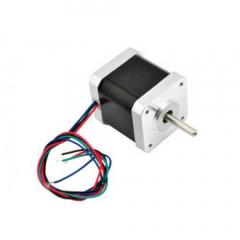
Arduino pro mini, or other versions
Optical infrared sensor
OLED display 0.96 inches or whatever you like
Power button (slider)
USB-connector for battery charging
Li-ion battery , can be from an old mobile phone
Wires
At first, of course, I searched the Internet for homemade tachometers on Arduino, I came across Alex Guyver's tachometer project. After loading the firmware, I started testing the device, periodically negative values jumped in the port monitor or showed too high revs up to a million units. I thought that the glitches were related to my sensor, I tried to rewrite the firmware in my own way, but the result was always the same. There are projects on the Internet on this firmware, but for some reason it didn't work for me.
In the process of stuffing the bumps with the firmware, I figured out how to write my own. At first, nothing came out at all, but then all the variables fell into place and the tachometer worked as expected. The firmware code is very simple.
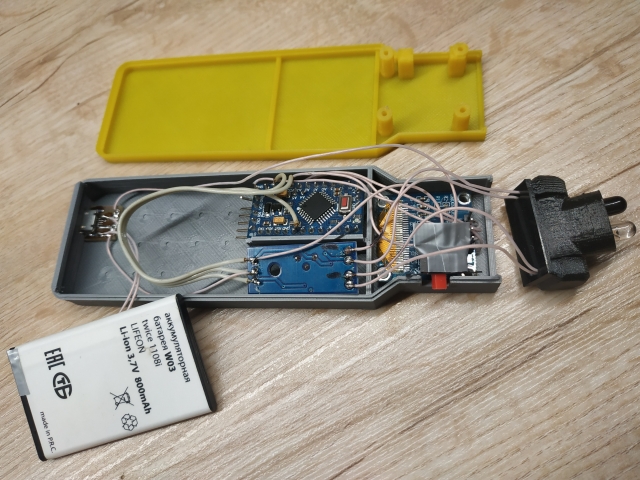
I used a small OLED display as a screen, it can accommodate a lot of numbers. The device is powered by the battery of an old mobile, charges like a phone via a USB connector. The hardware turned out to be compact, I modeled the case for it and printed it on a 3D printer.
The tachometer can be supplemented with buttons to set the number of blades on the measured fans, then there is no need to calculate the actual number of revolutions per minute on the calculator. You can add a button to memorize the maximum speed. The Arduino uses only a few pins, so the device can be supplemented with many additional functions. You can also display more information on the screen, the installed display allows you to do this. In general, there is space for creativity.
Finally, with this tachometer I measured everything that revolves in the house, motors, a screwdriver, a mixer, a wheel at a winding machine, a very interesting device, a toy for a developer :)
Download Tachometer sketch and STL files
Add comment
Random DIY
-
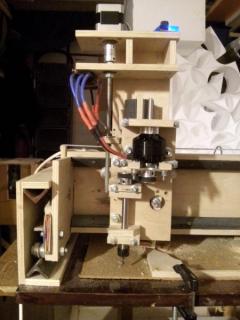 This is my first CNC machine assembled with my own hands from available materials. The cost price of the machine is about $170.
 -
 The eternal problem, which wire to connect :)
 -
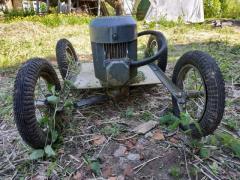 I made this powerful lawnmower myself for the village, there is always a lot of high grass, which is not rational to fight with the usual manual trimmer. This animal mows down everything, tough grass, small trees, levels of hills, covered with moles, and even turns old bricks out of the ground.
 -
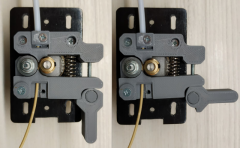 Bowden extruder for a 3D printer with minimal gaps and no extra parts. An eccentric is provided for compressing the spring and releasing the filament rod.
 -
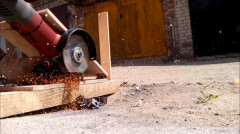 This device helped me to saw a bundle of rolled metal at an angle of 90 degrees without effort.