Homemade 3d printer v3.0
I present to your attention a homemade 3d printer. Assembled from plywood, aluminum, plastic and Arduino. This printer is unique in that its kinematics is peeped from Ultimaker, but done with quality modifications.
This is my third hand-made 3D printer. The first was H-bot, the second D-bot.
Since then, when I found out about 3D printing, I wanted to make my own printer, but I didn’t really understand why I needed it. I bought the first part back in 2015, with the thought that maybe someday I will make a printer. For three years, the parts for assembly have quietly accumulated and in December 2017 I began the process. The first seal occurred only at the end of February 2018. Since then, I fell ill 3d-print.

The first printer was the first pancake, i.e. lump It was a good start, I gained invaluable experience and typed in the details for a second printer. The second printer turned out better, but still did not suit me with its flaws in kinematics.

From the very beginning I didn’t set myself the task to make a 3d printer for daily printing or printing on order. Purpose: to print plastic products for their own needs. It would be desirable, of course, that the print quality was maximum and at the same time the price of the printer should not exceed the limit. Rail guides were immediately excluded from the estimate because of the price and complexity of the purchase, and besides, they are noisy. ABS plastic sleeves.
For a long time I wanted to learn how to model my homemade products in 3D, all the stimulus was not enough. I tried to build the first printer in AutoCAD. After the first few printed plastic parts, I realized that something else was needed. So I got a kick to explore SolidWorks. In it, and developed all subsequent models. I was very inspired by this program, because I like to draw very much!
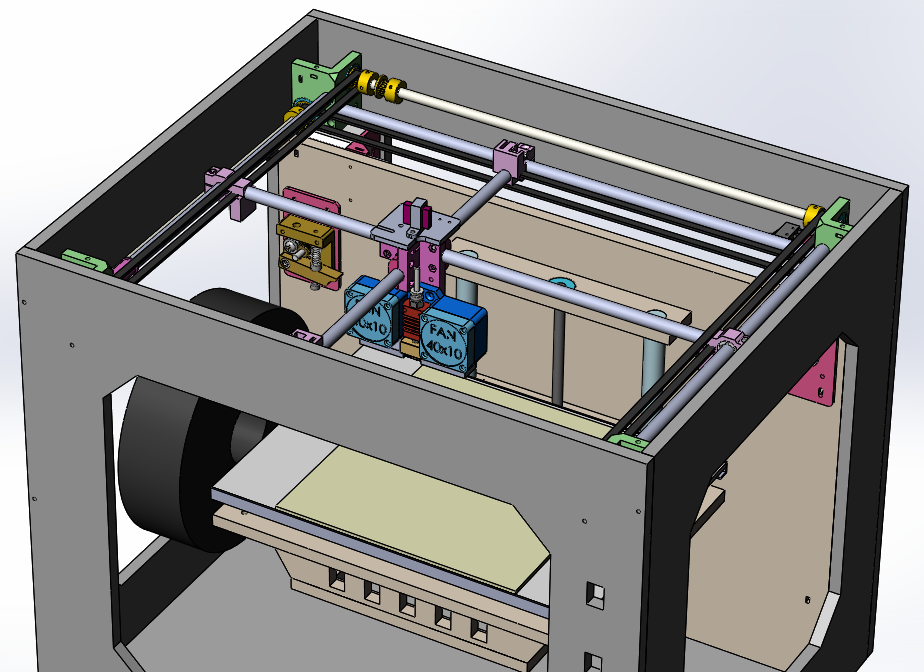
The printer was first modeled on a computer in 3D, taking into account all the details. Creating a virtual model helps a great development, many nodes are optimized even before their actual implementation.
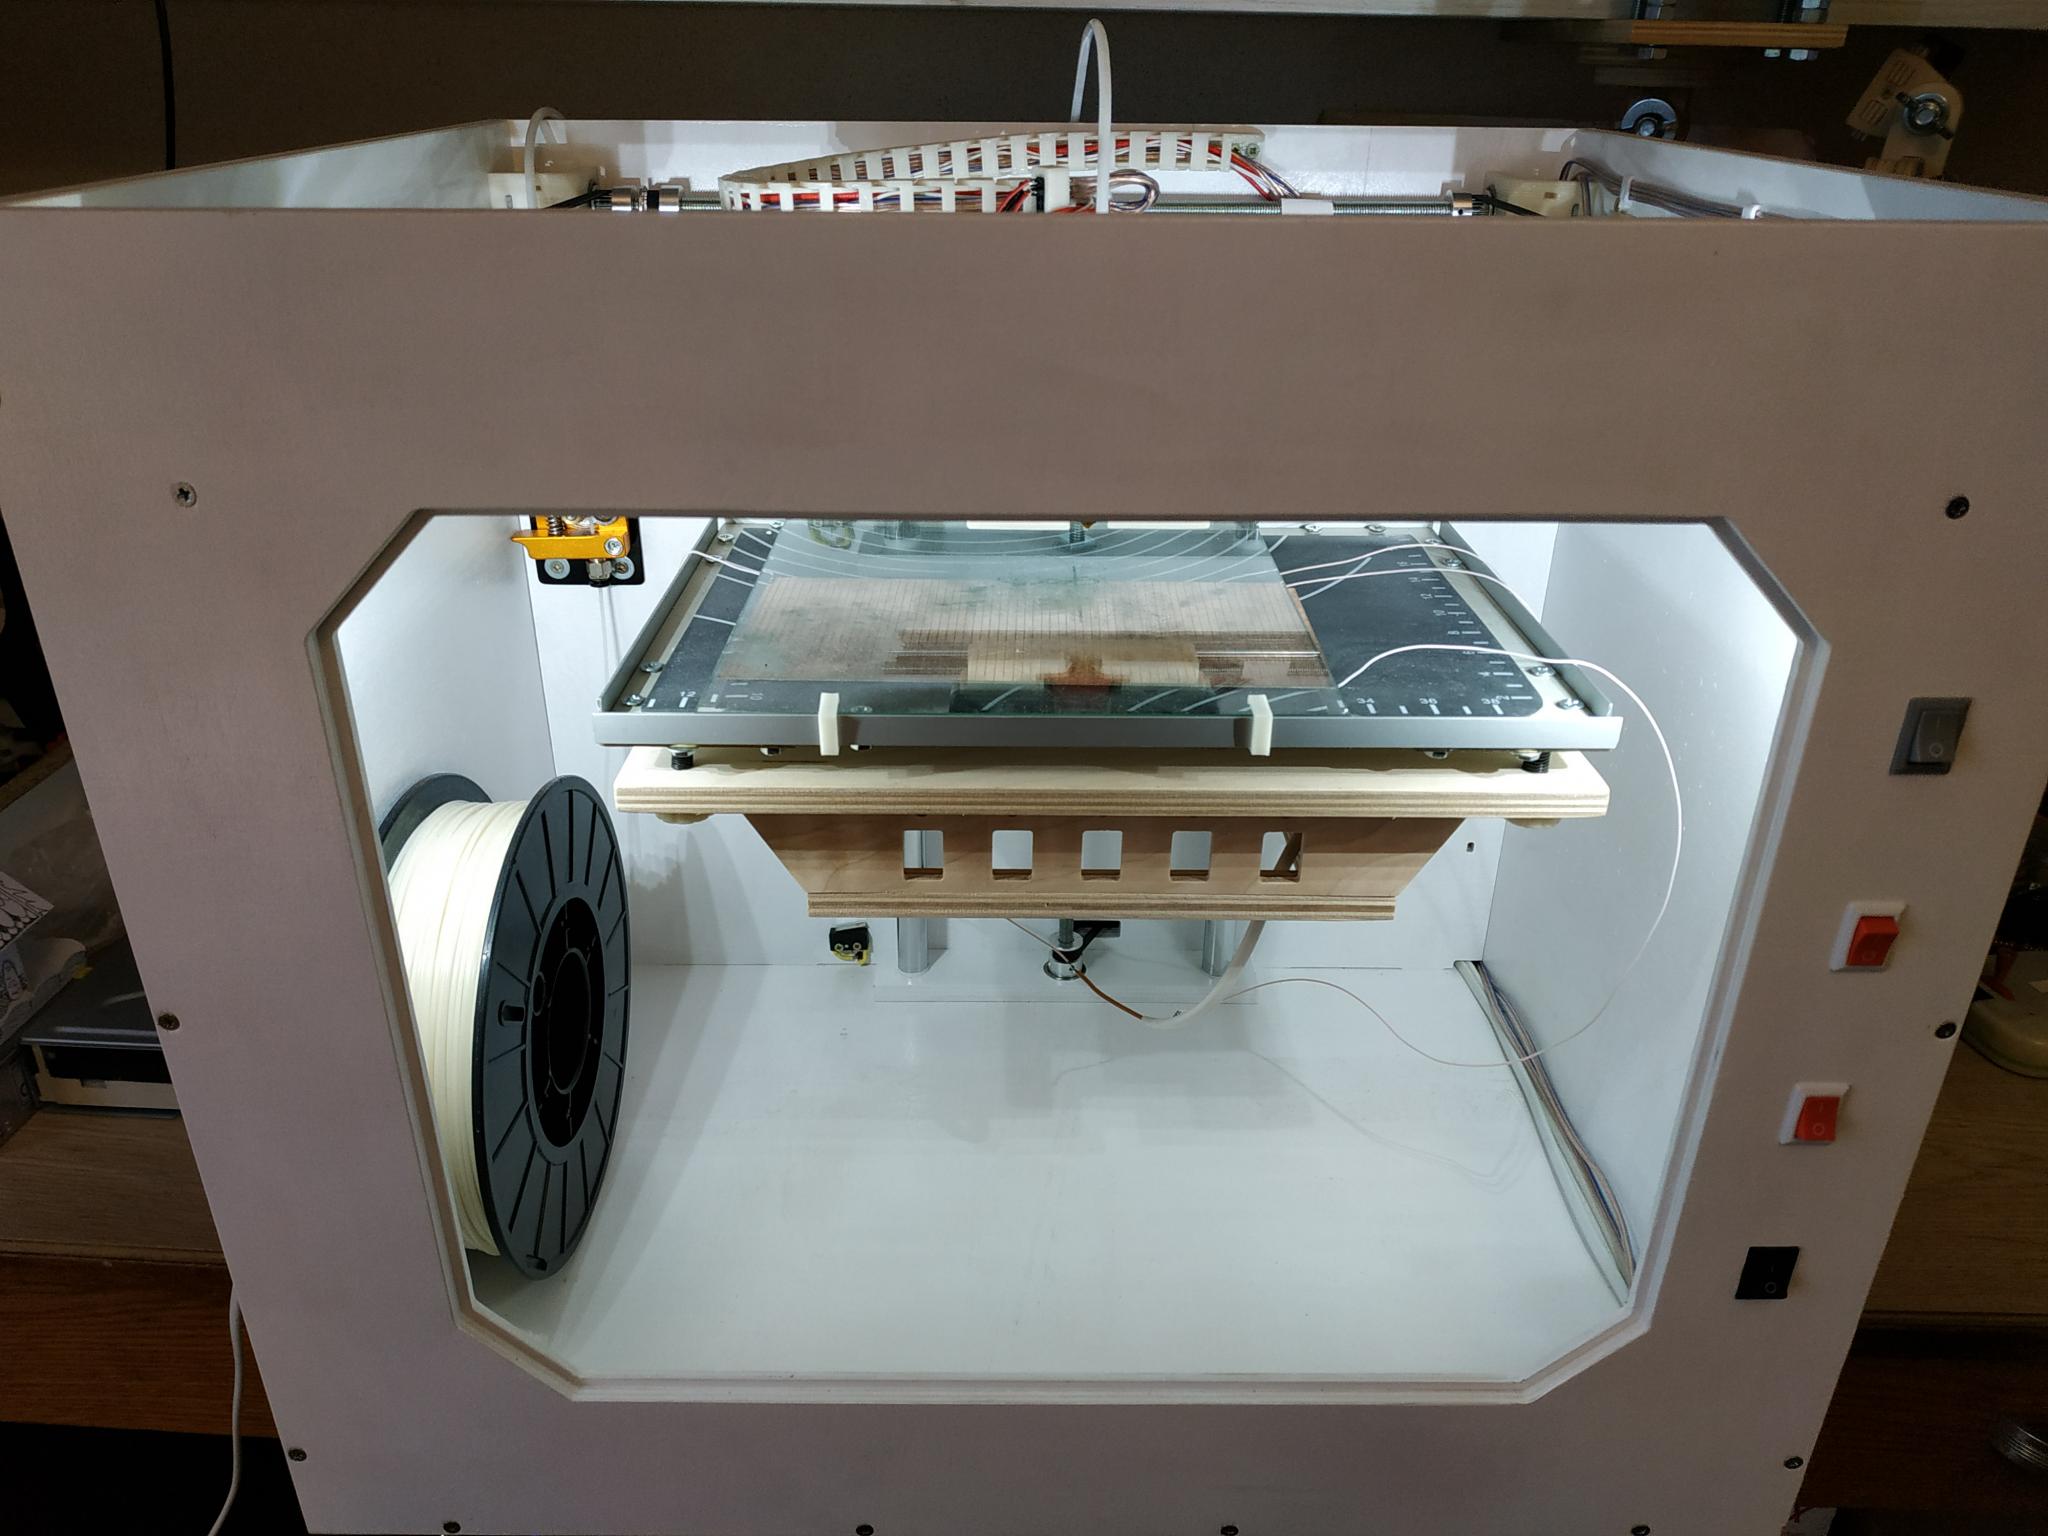
Considering the first experience of building a printer case from laminated chipboard, in this version I used 10 mm plywood. All parts were cut on a self-made CNC machine and painted with white automotive paint.
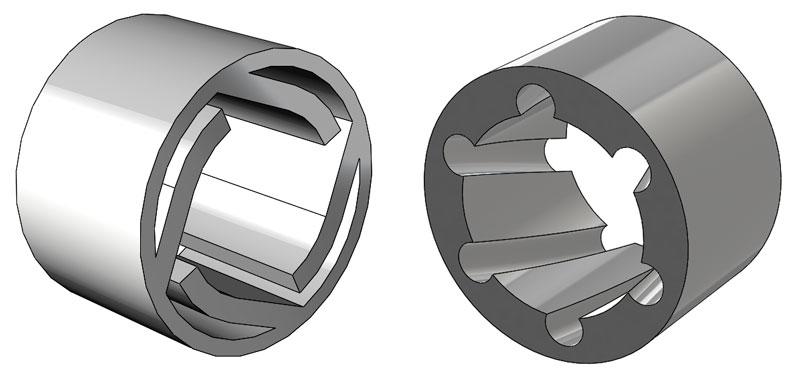
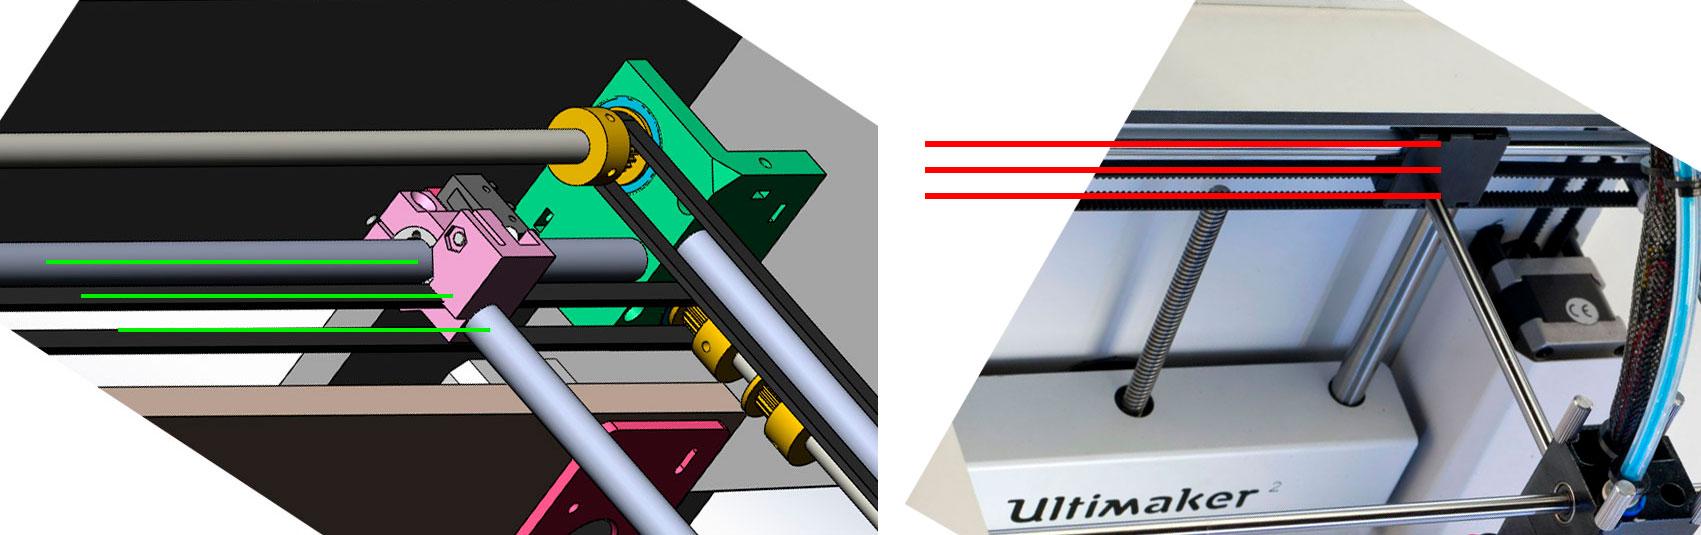
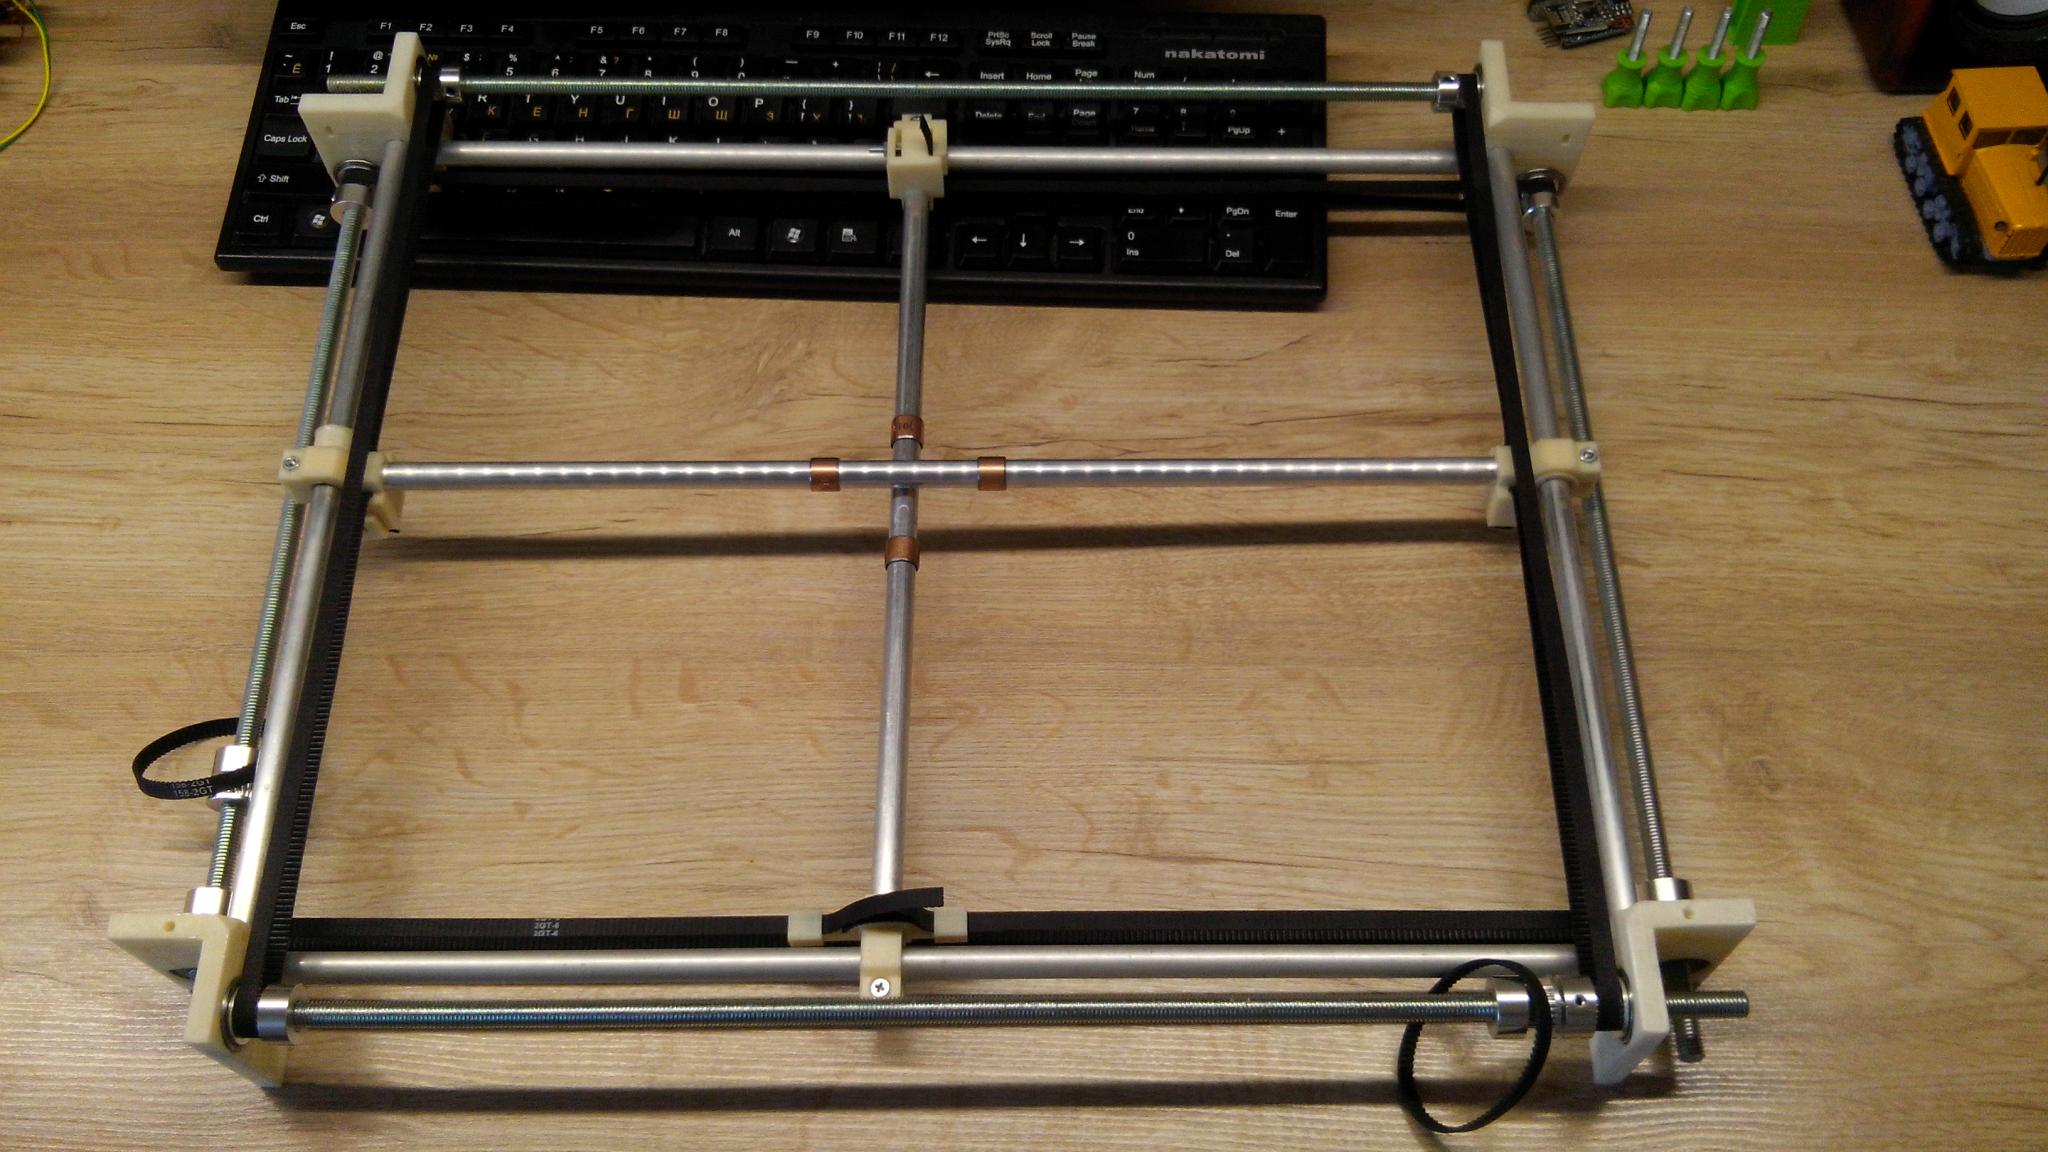
Perhaps the most interesting thing about this printer is kinematics. I have been eyeing Ultimaker for a long time. Bribed that his axes are moving hard, without distortions. Later I learned about the shortcomings. They consist in the radial rotation of the guides, along which the bushings also move. The key to quality printing with this performance kinematics are expensive and high-quality components. It did not suit me. My printer should be from cheap and easily accessible materials.
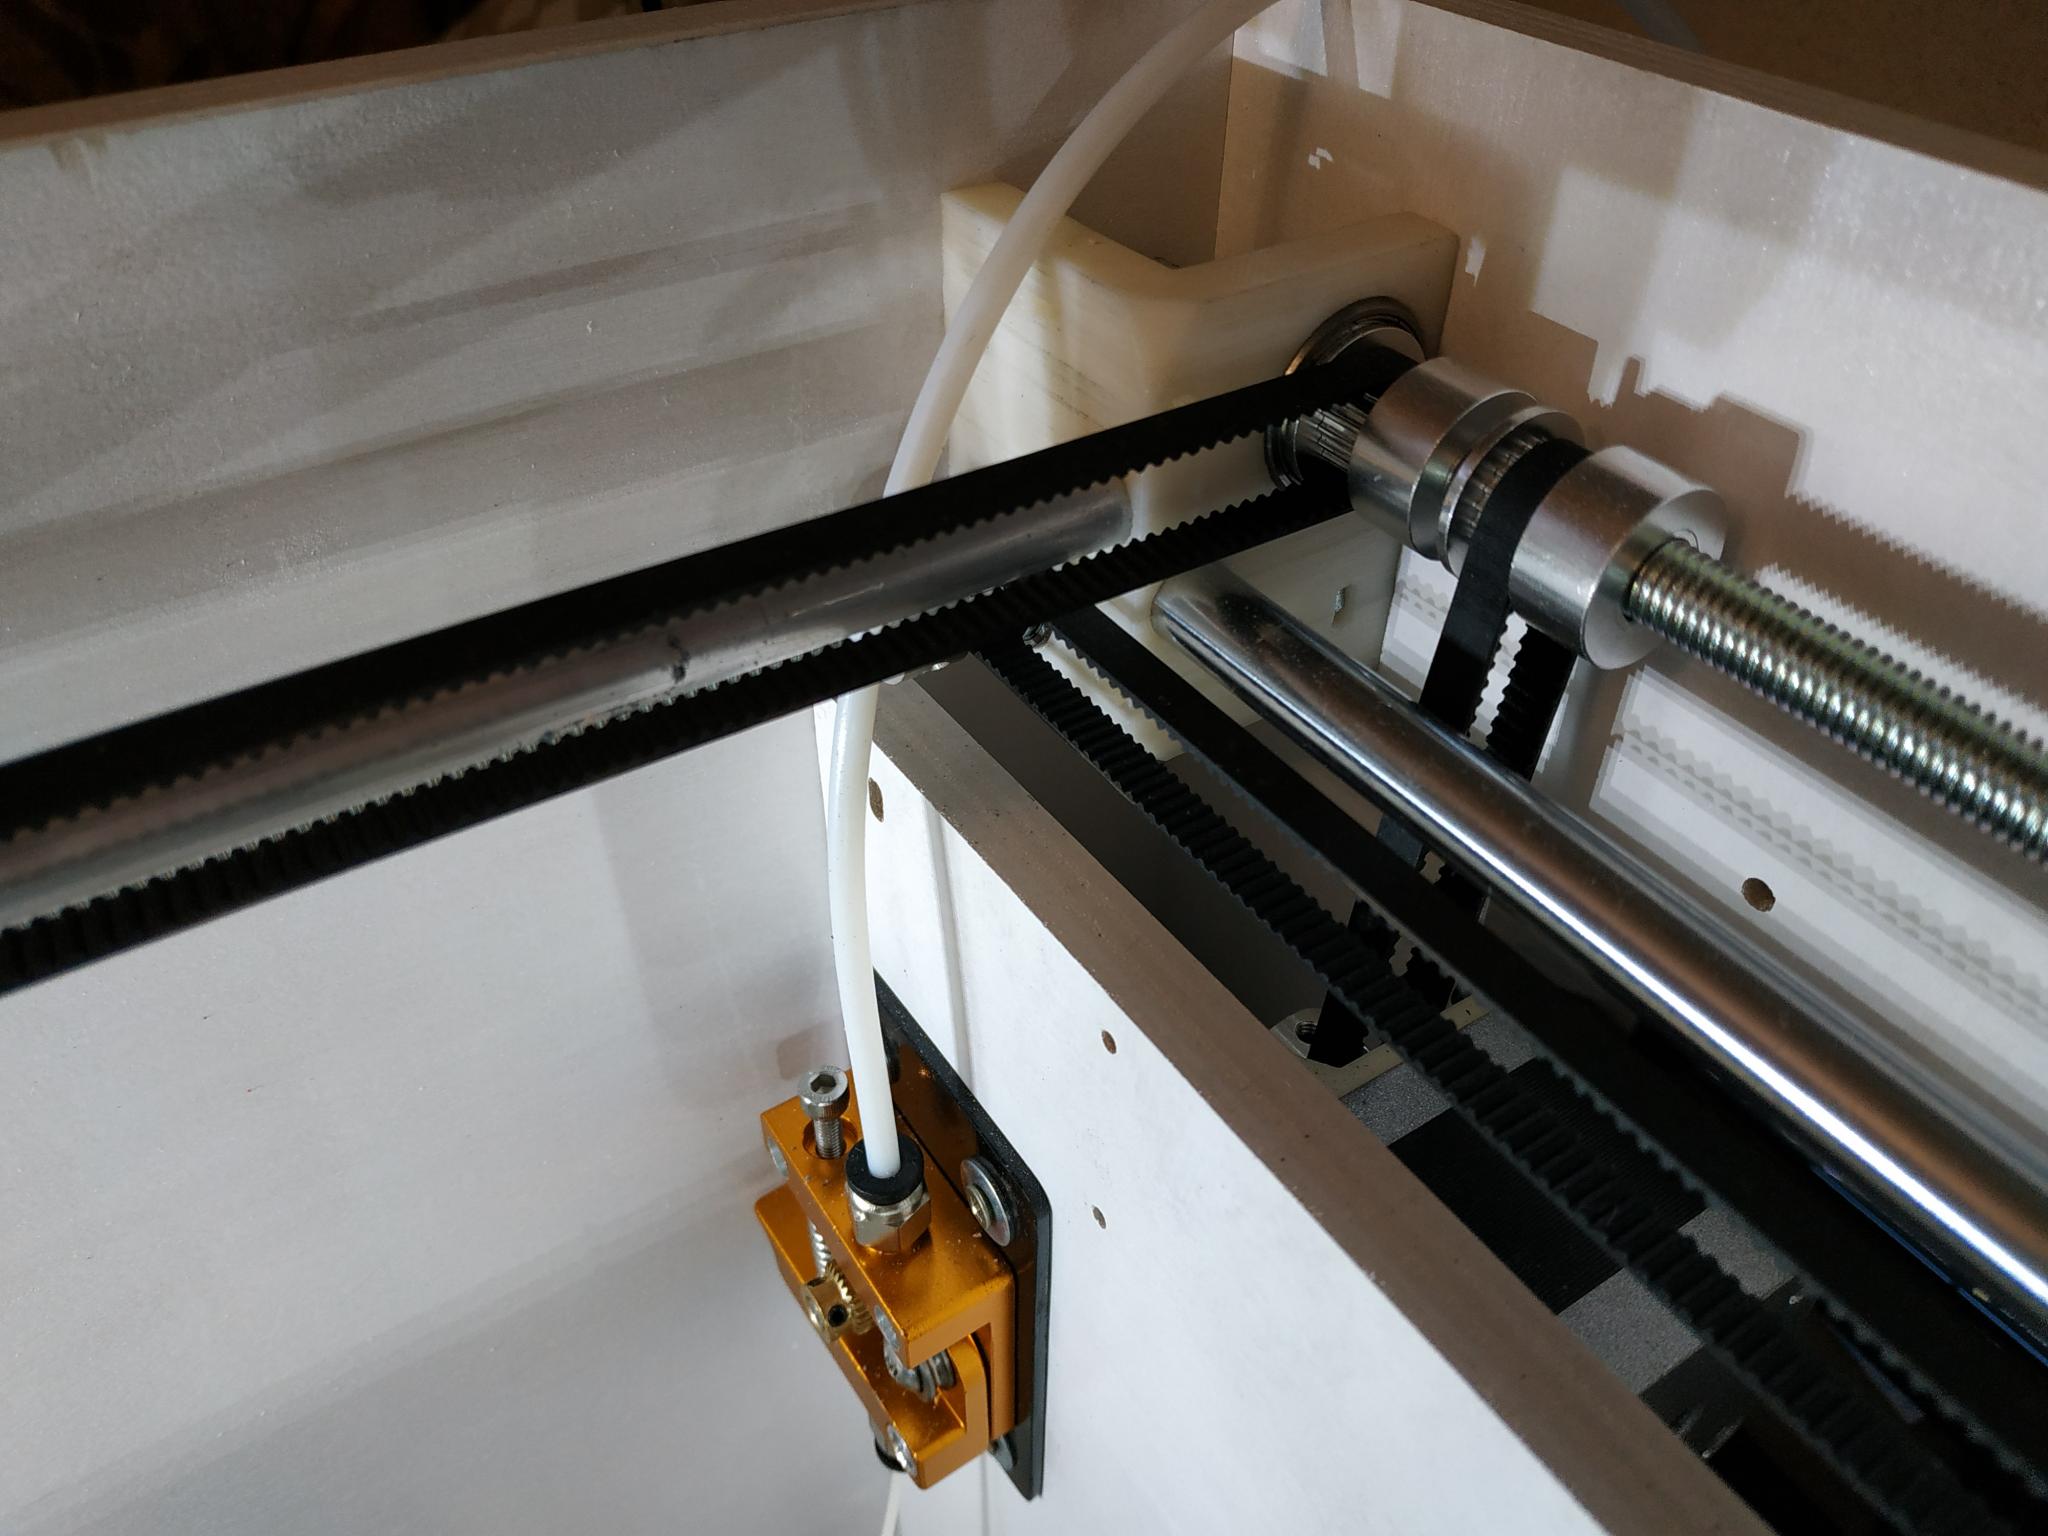
When developing a 3D model of a new printer, I divided the rotating and guiding shafts. So linear movement along the axes is carried out along fixed shafts of 10 mm. The belt drive is organized on separate shafts with a diameter of 8 mm. The attachment points of the belts on the moving parts are made in the same plane of movement of the axes so as not to create unnecessary levers, which, by the way, contribute to the wear of the sleeves.
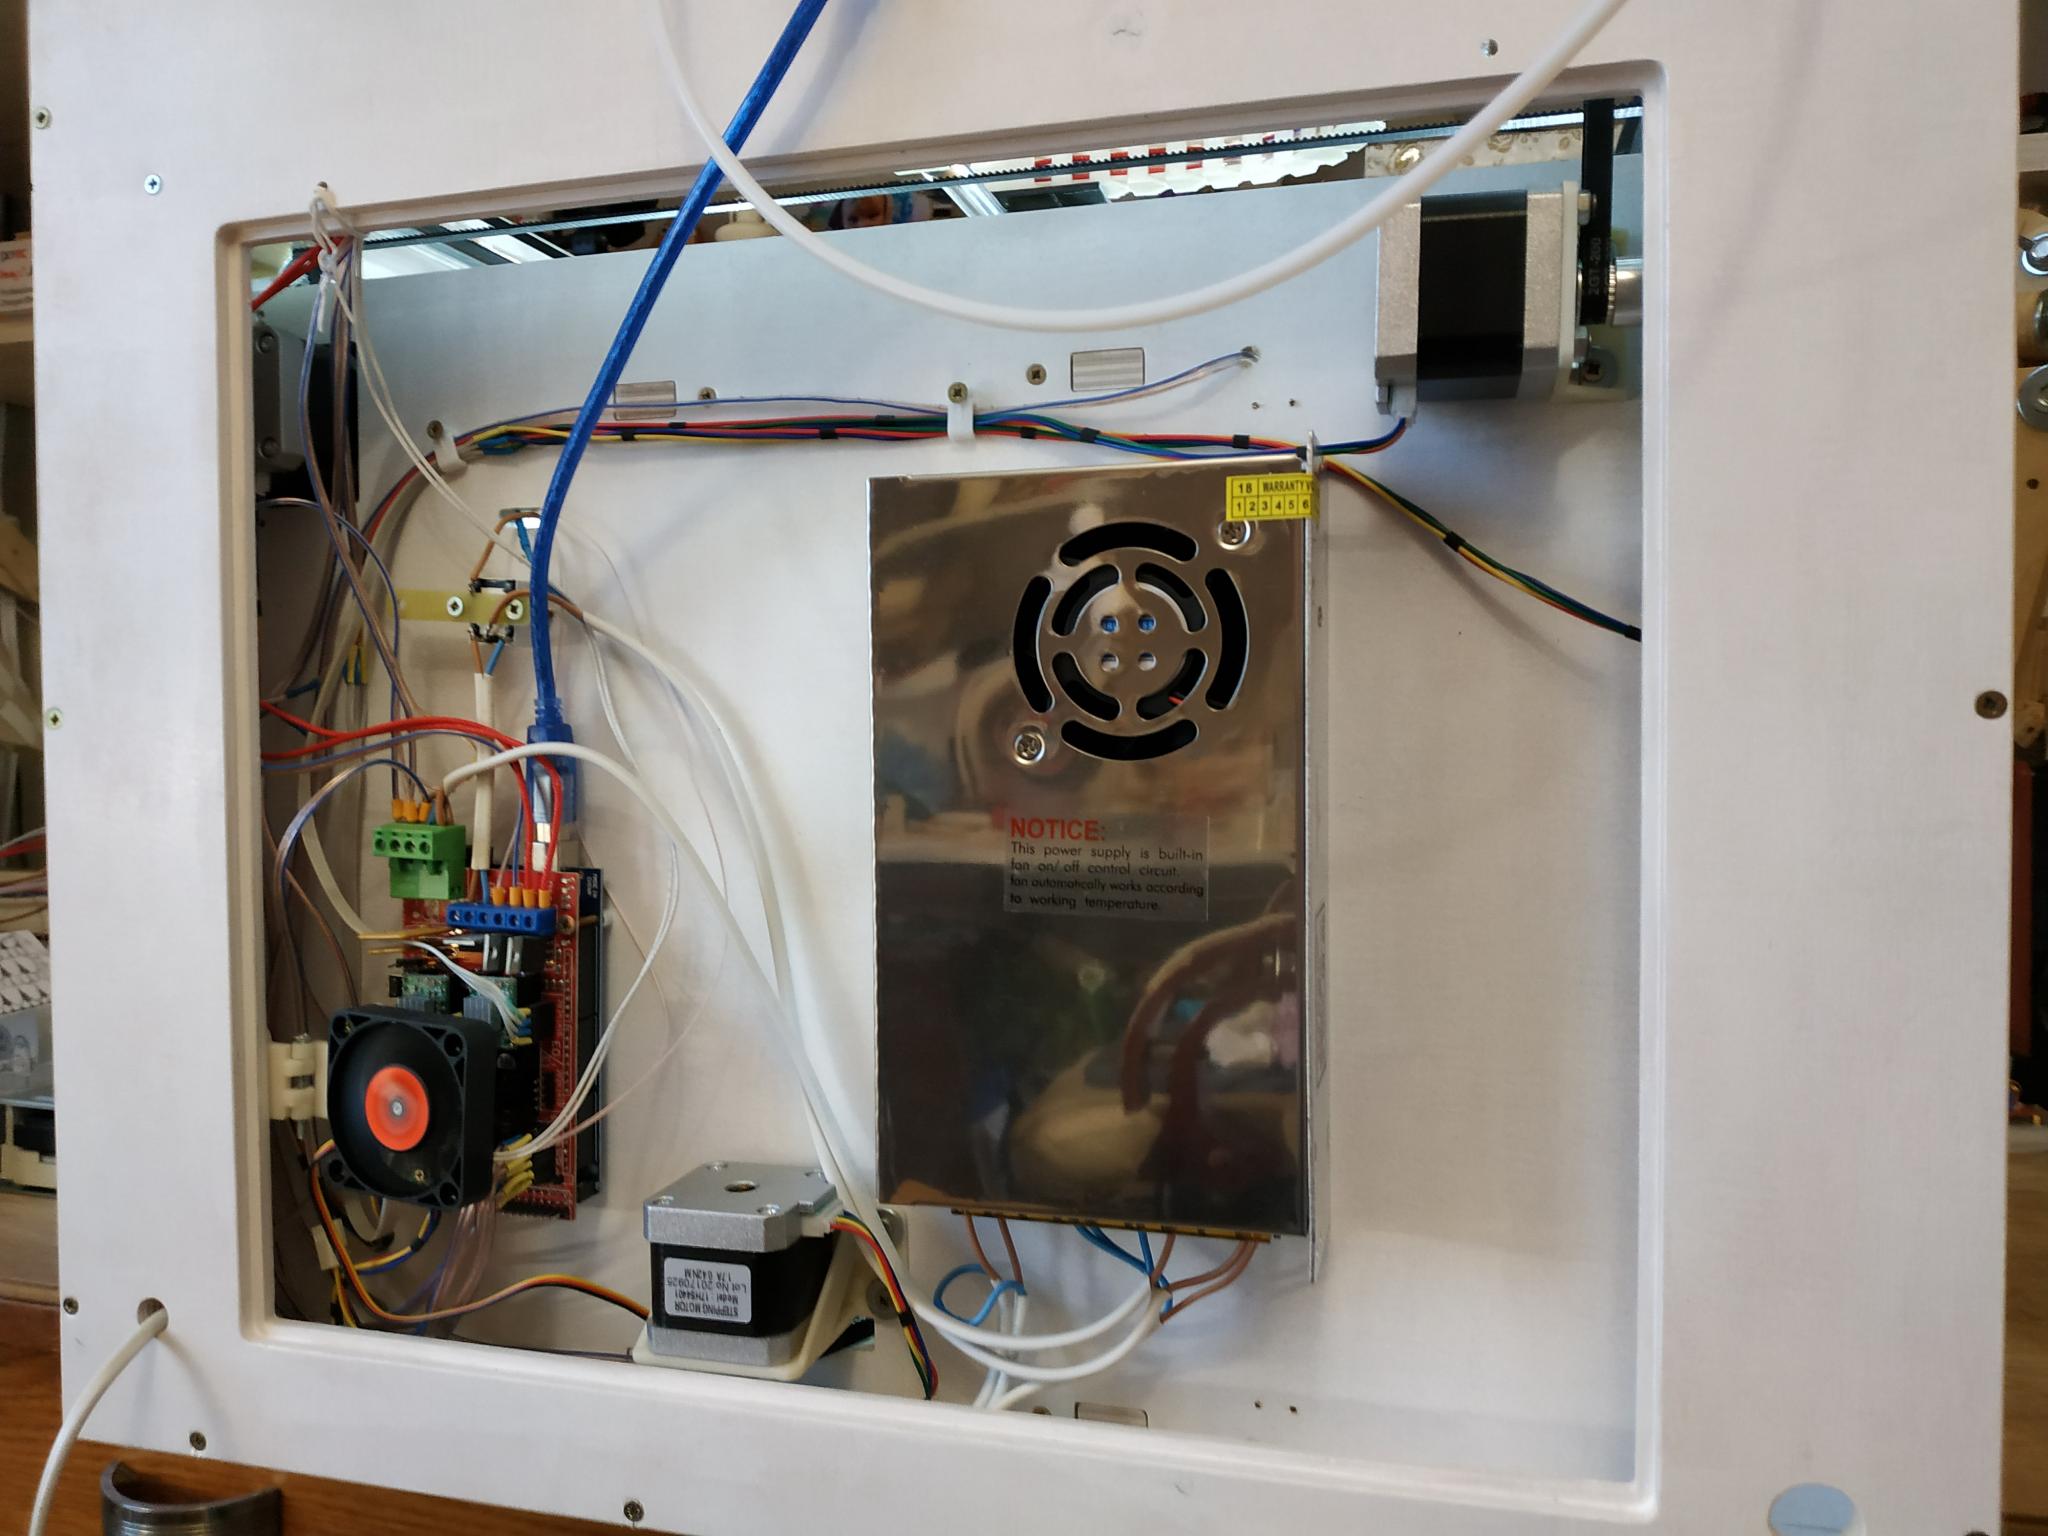
I have set the task of being able to quickly replace any parts of the kinematics without having to disassemble half of the printer. Also, all 4 motors and electronics of the printer are placed in the back of the printer in order to be able to make the heat chamber for 3D printing and not to warm up what should be cool.
Z axis made of 16 mm furniture pipes and plastic printed plates for sliding. The table moves along the axis with the help of a standard M8 threaded rod and coupling. Rotation from the motor is transmitted to the stud through the belt drive.
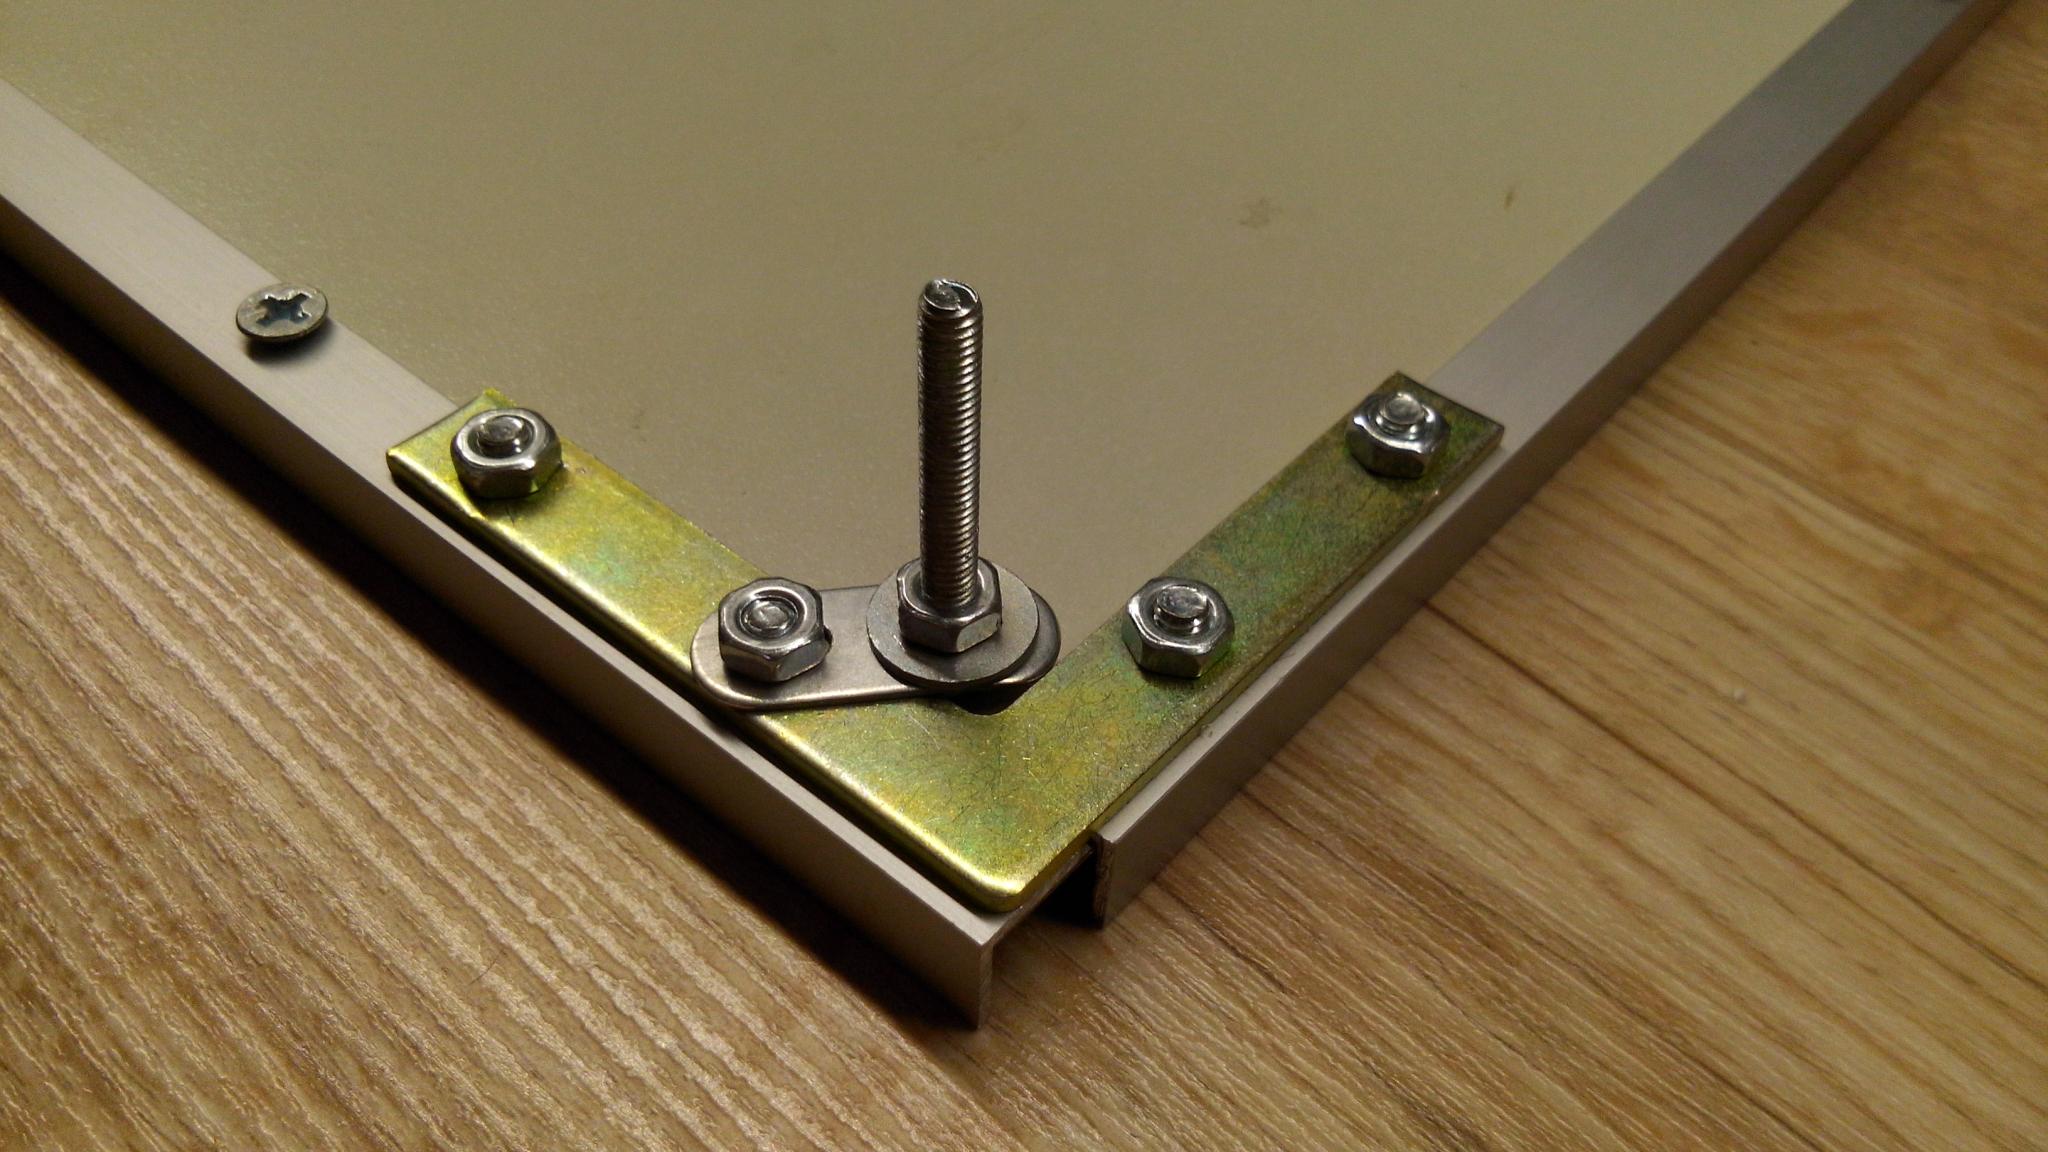
The heated table consists of two parts. The base is made of plywood; it moves along the Z axis. The base is mounted on four M4 screws and springs with an aluminum frame. Silicone mat, heater and borosilicate glass are placed in the frame.
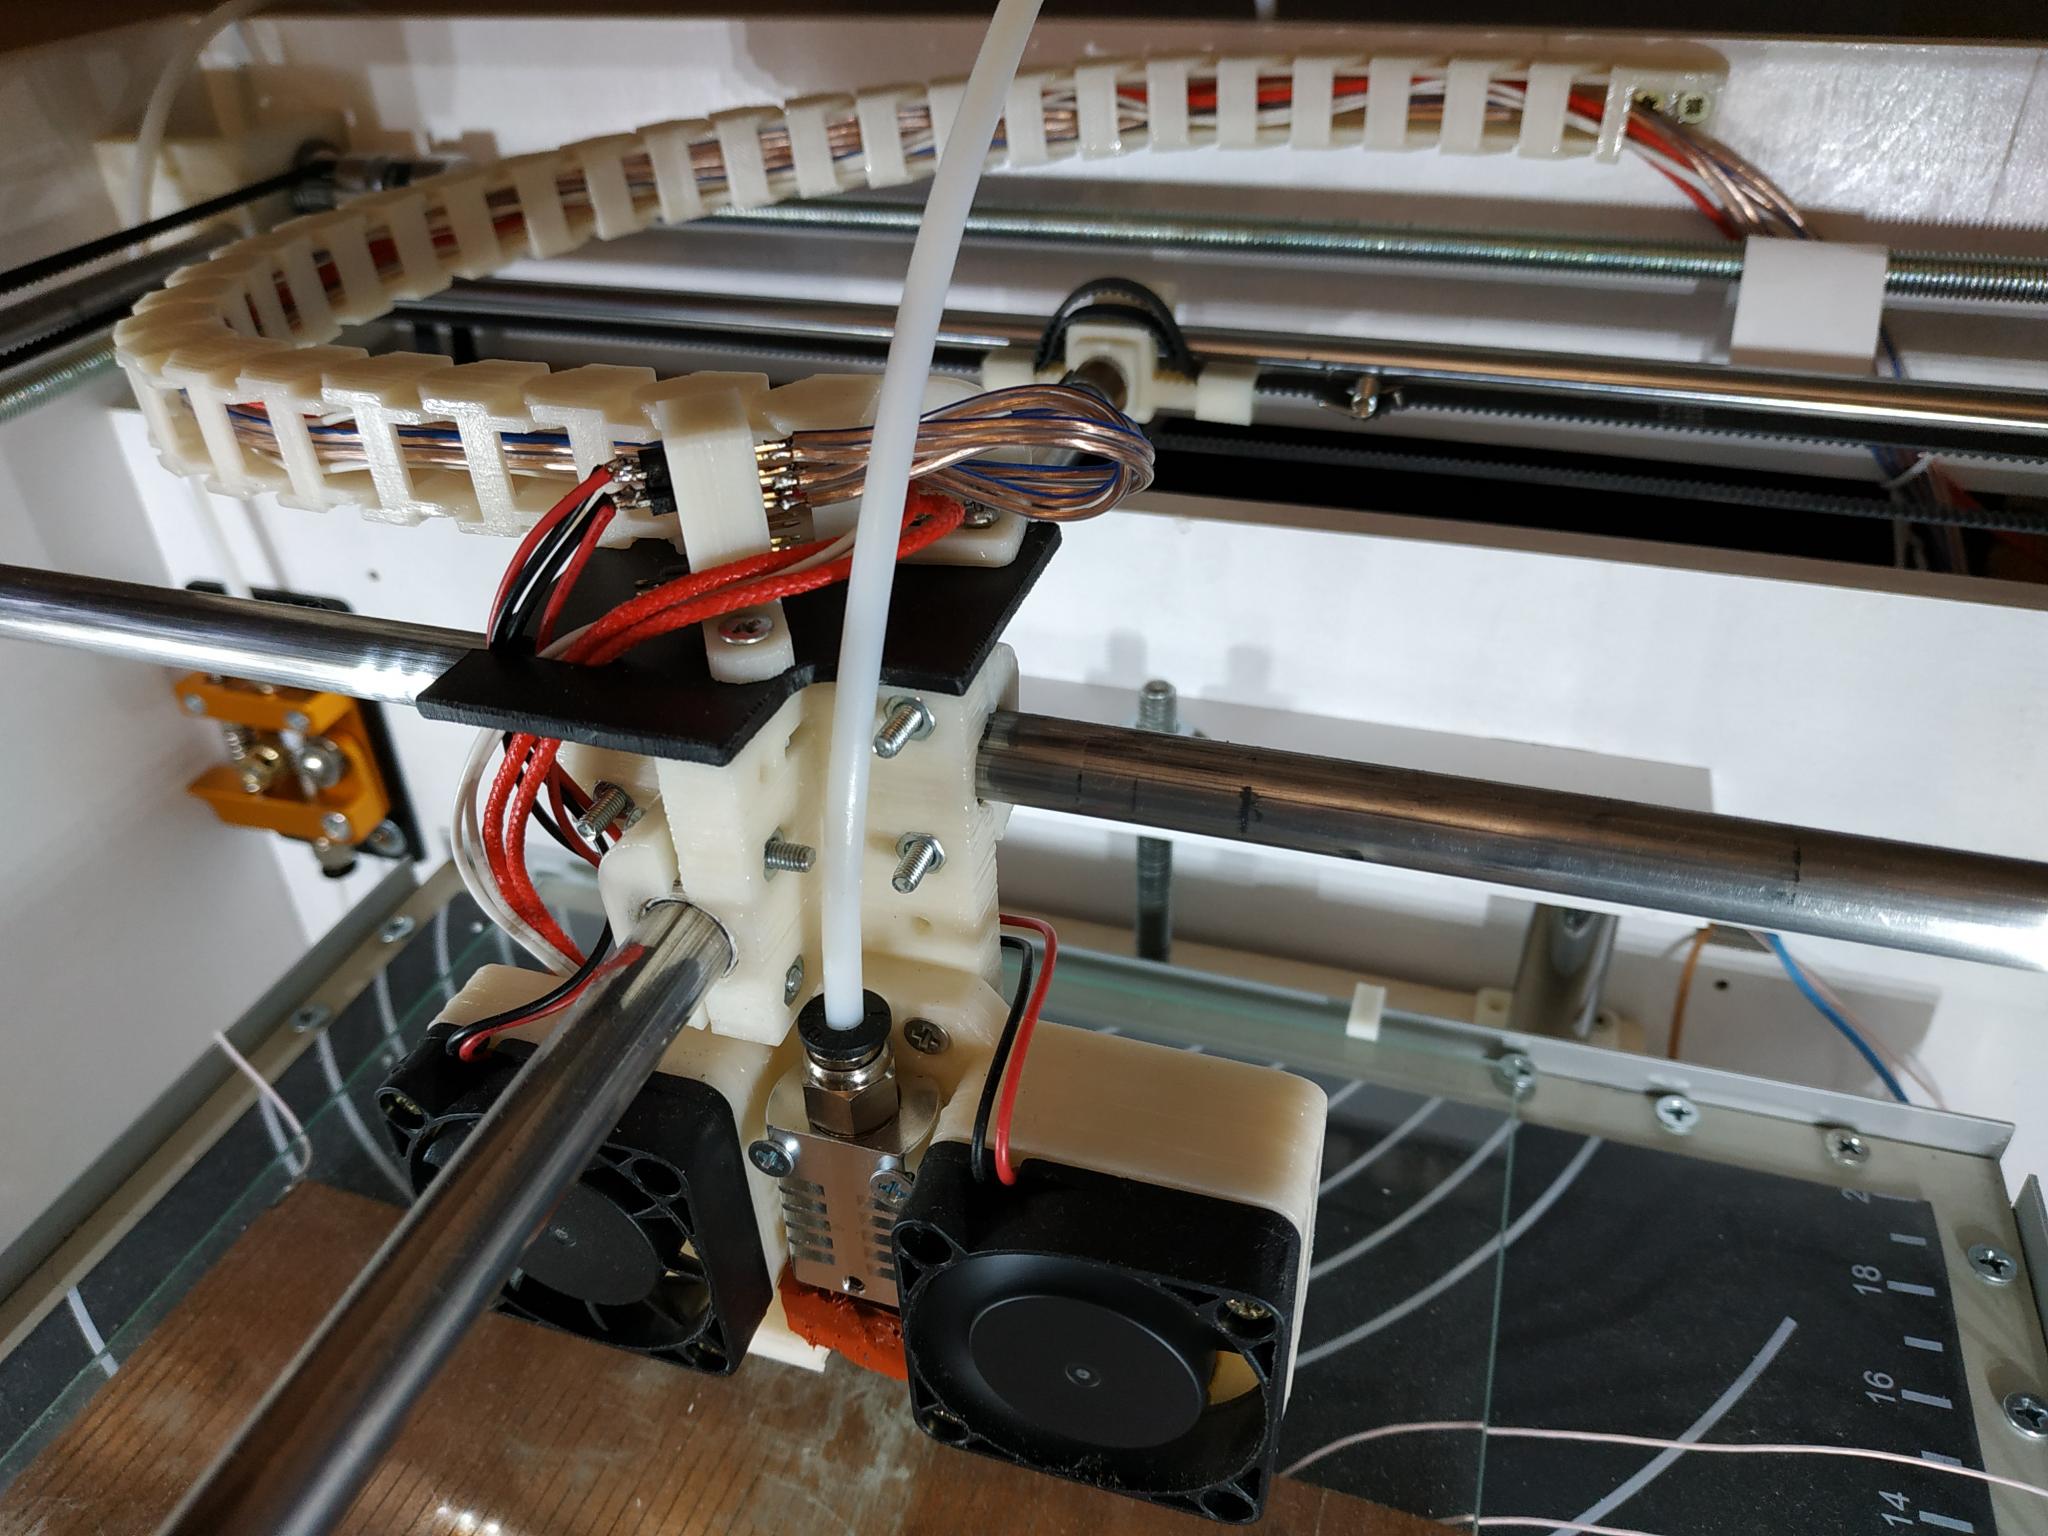
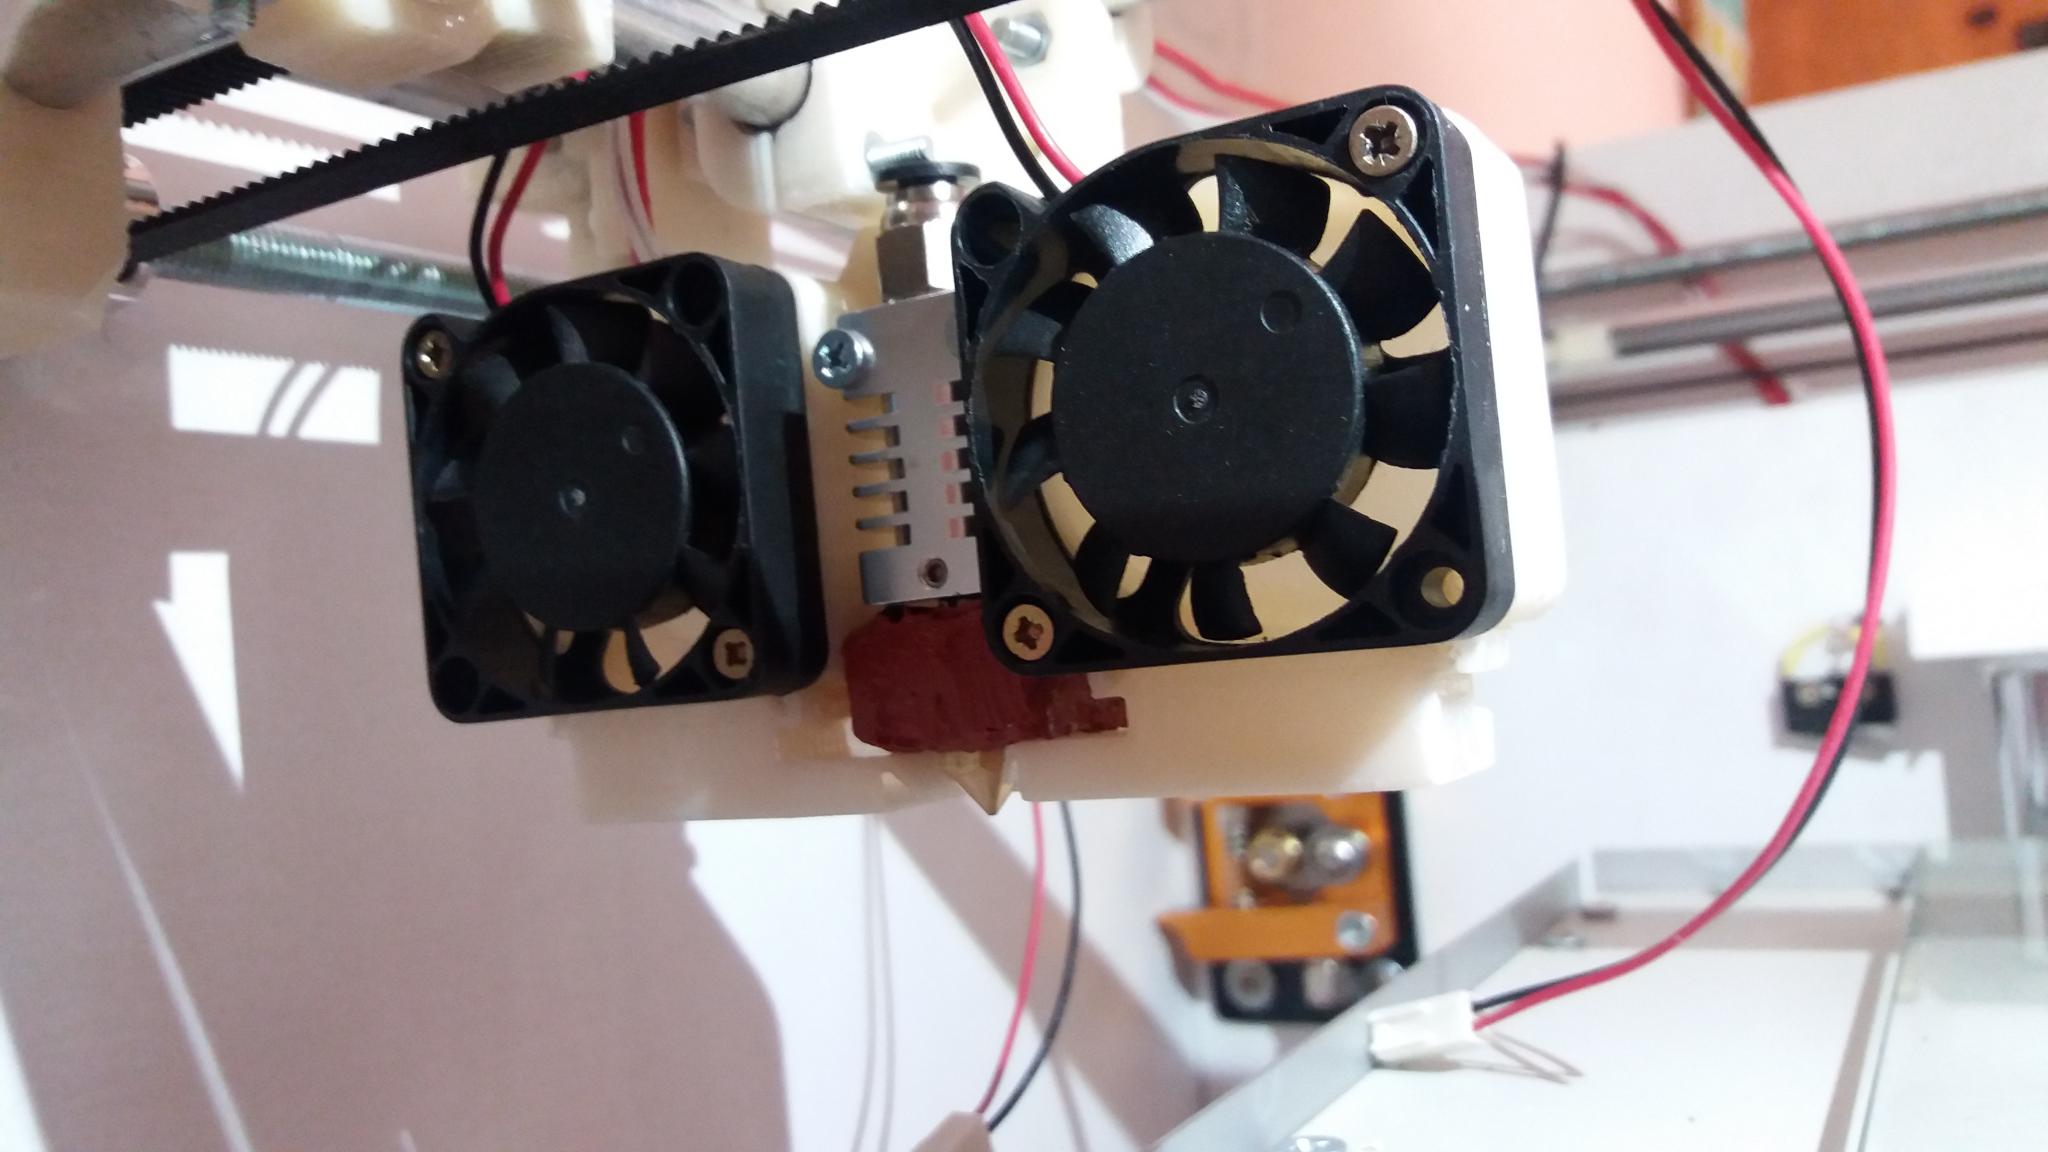
A lot of time and effort took the development of a moving / printhead, its cooling and blowing parts. It was necessary to measure out the details for a long time, so that nothing touched anywhere during the movement. For cooling, I used 40 * 10 mm coolers. They work quietly at low revs and give good airflow. Electronics bolted to the back wall. There is also a cooler for cooling motor drivers. The cooler for cooling the extruder and the cooler for the electronics are powered sequentially and operate at half power, so the noise from them is very low. All electronics is powered by a 12 volt power supply 25 amps. The switches are all mechanical, working to open.
Fuser hotenda I poured heat-resistant silicone. Whether it works well, I cannot say, but what saves fingers from burns is for sure. I haven't done any other improvements with the hot end yet, everything is standard.
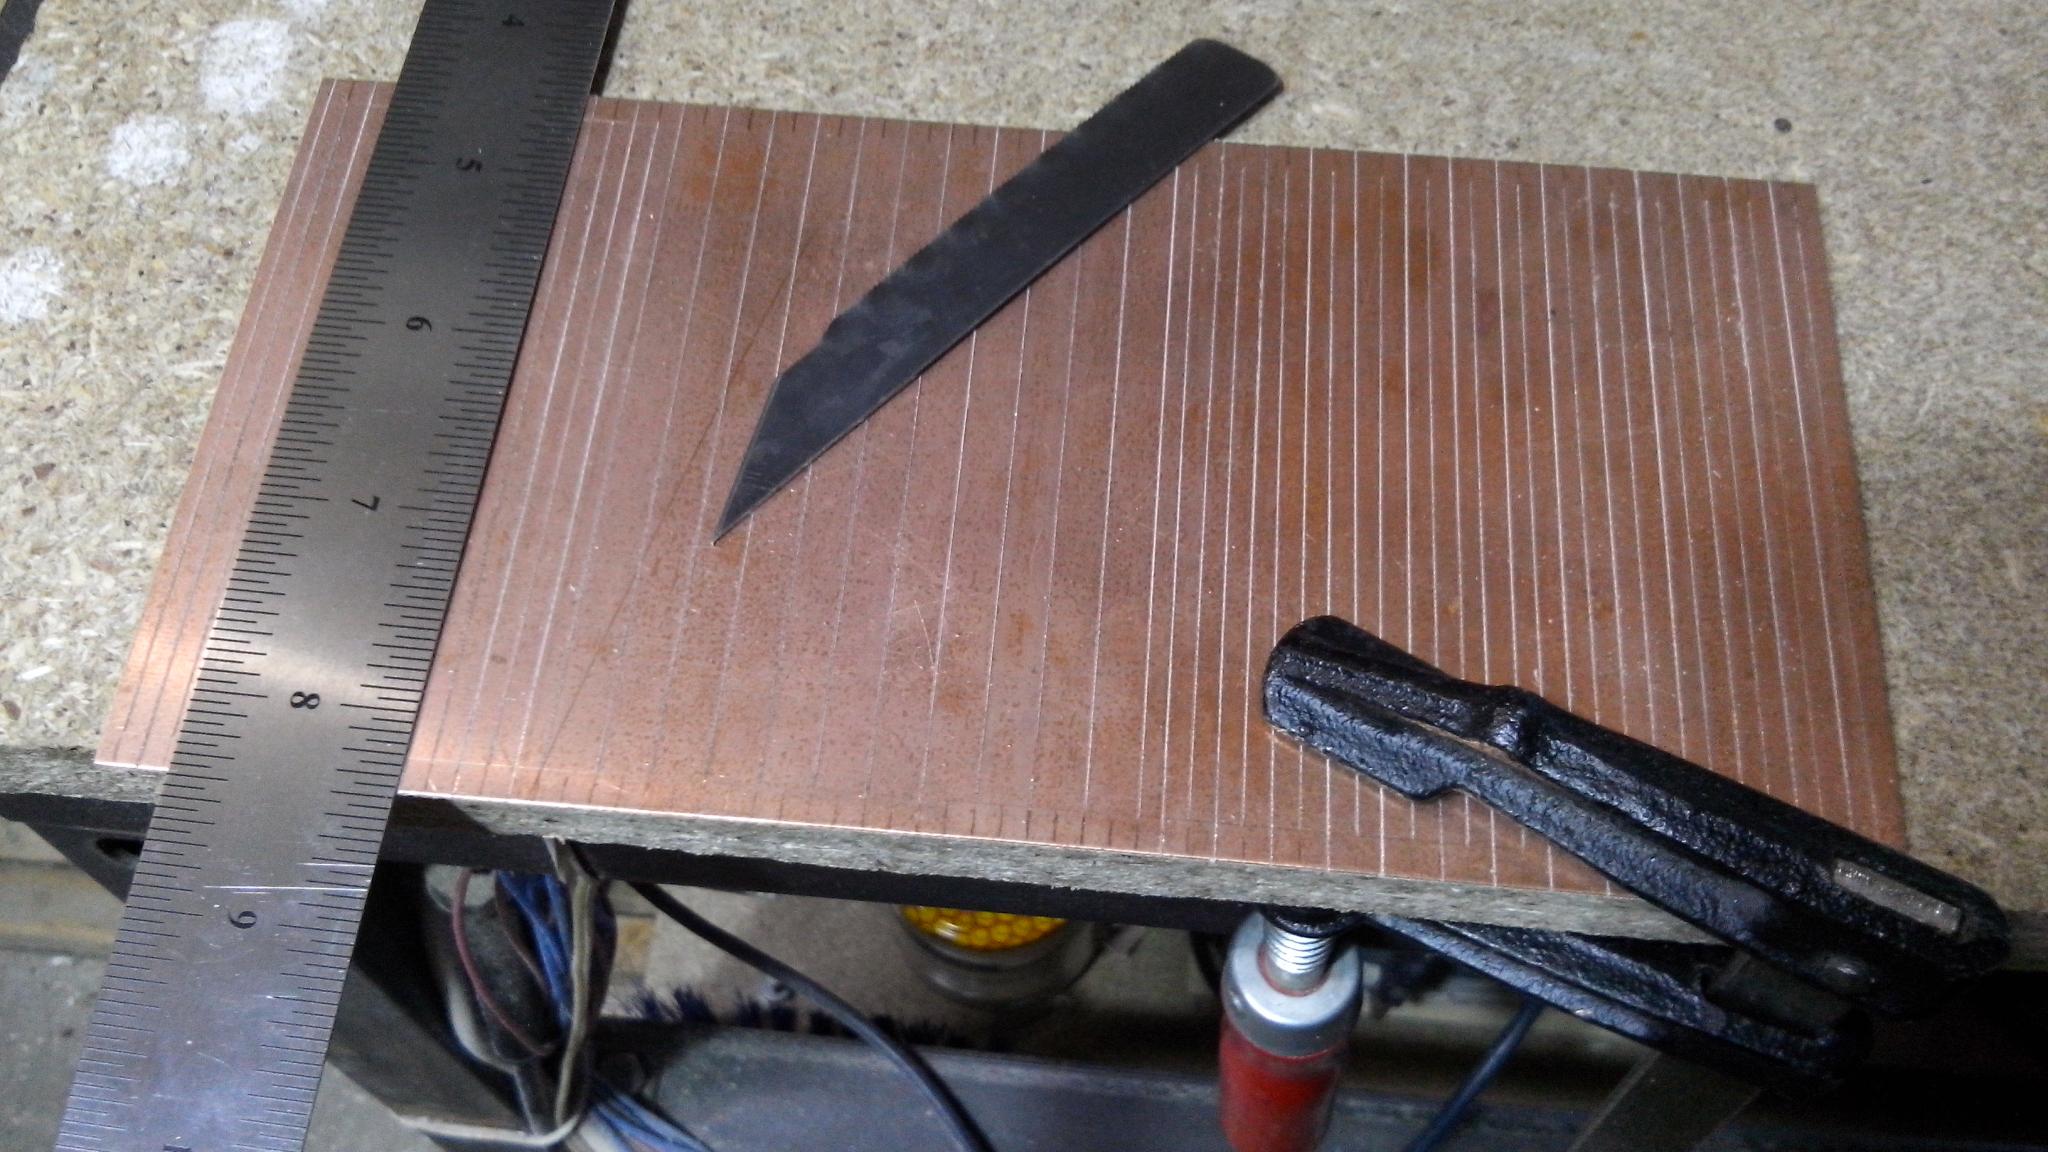
The table is heated with a homemade textolite heater, the track is simply scratched with a chisel under the ruler, tortured, it would be better to etch it out. By experience, for every 10 * 10 cm of the table, 2.5 amperes should be spent, then the table heats up to 100 degrees very quickly. The heater is turned on through a conventional electromagnetic relay.
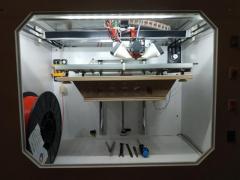
Currently, the 3D printer does not have a finished look, all at the stage of assembly and testing. There are already many ideas on how to improve what is. In general, I am very pleased with the kinematics, the location of the elements, the body, the appearance and convenience.
On the shortcomings and shortcomings.
Steel shafts should be used as guides. I did not have them, so I tried to put aluminum tubes. The first seal showed that the long guides bend due to friction sleeves and insufficient stiffness of aluminum tubes. Replacing two long guides to steel slightly improved the situation, but there was still a central guide. It has not been replaced yet.
As the 8-millimeter shaft for the belts planned to use aluminum tubes. They used to be on sale, then disappeared. I had to use threaded studs, and this gave a pulse to the pulleys, which is transmitted to the belt and, accordingly, affects the print quality.
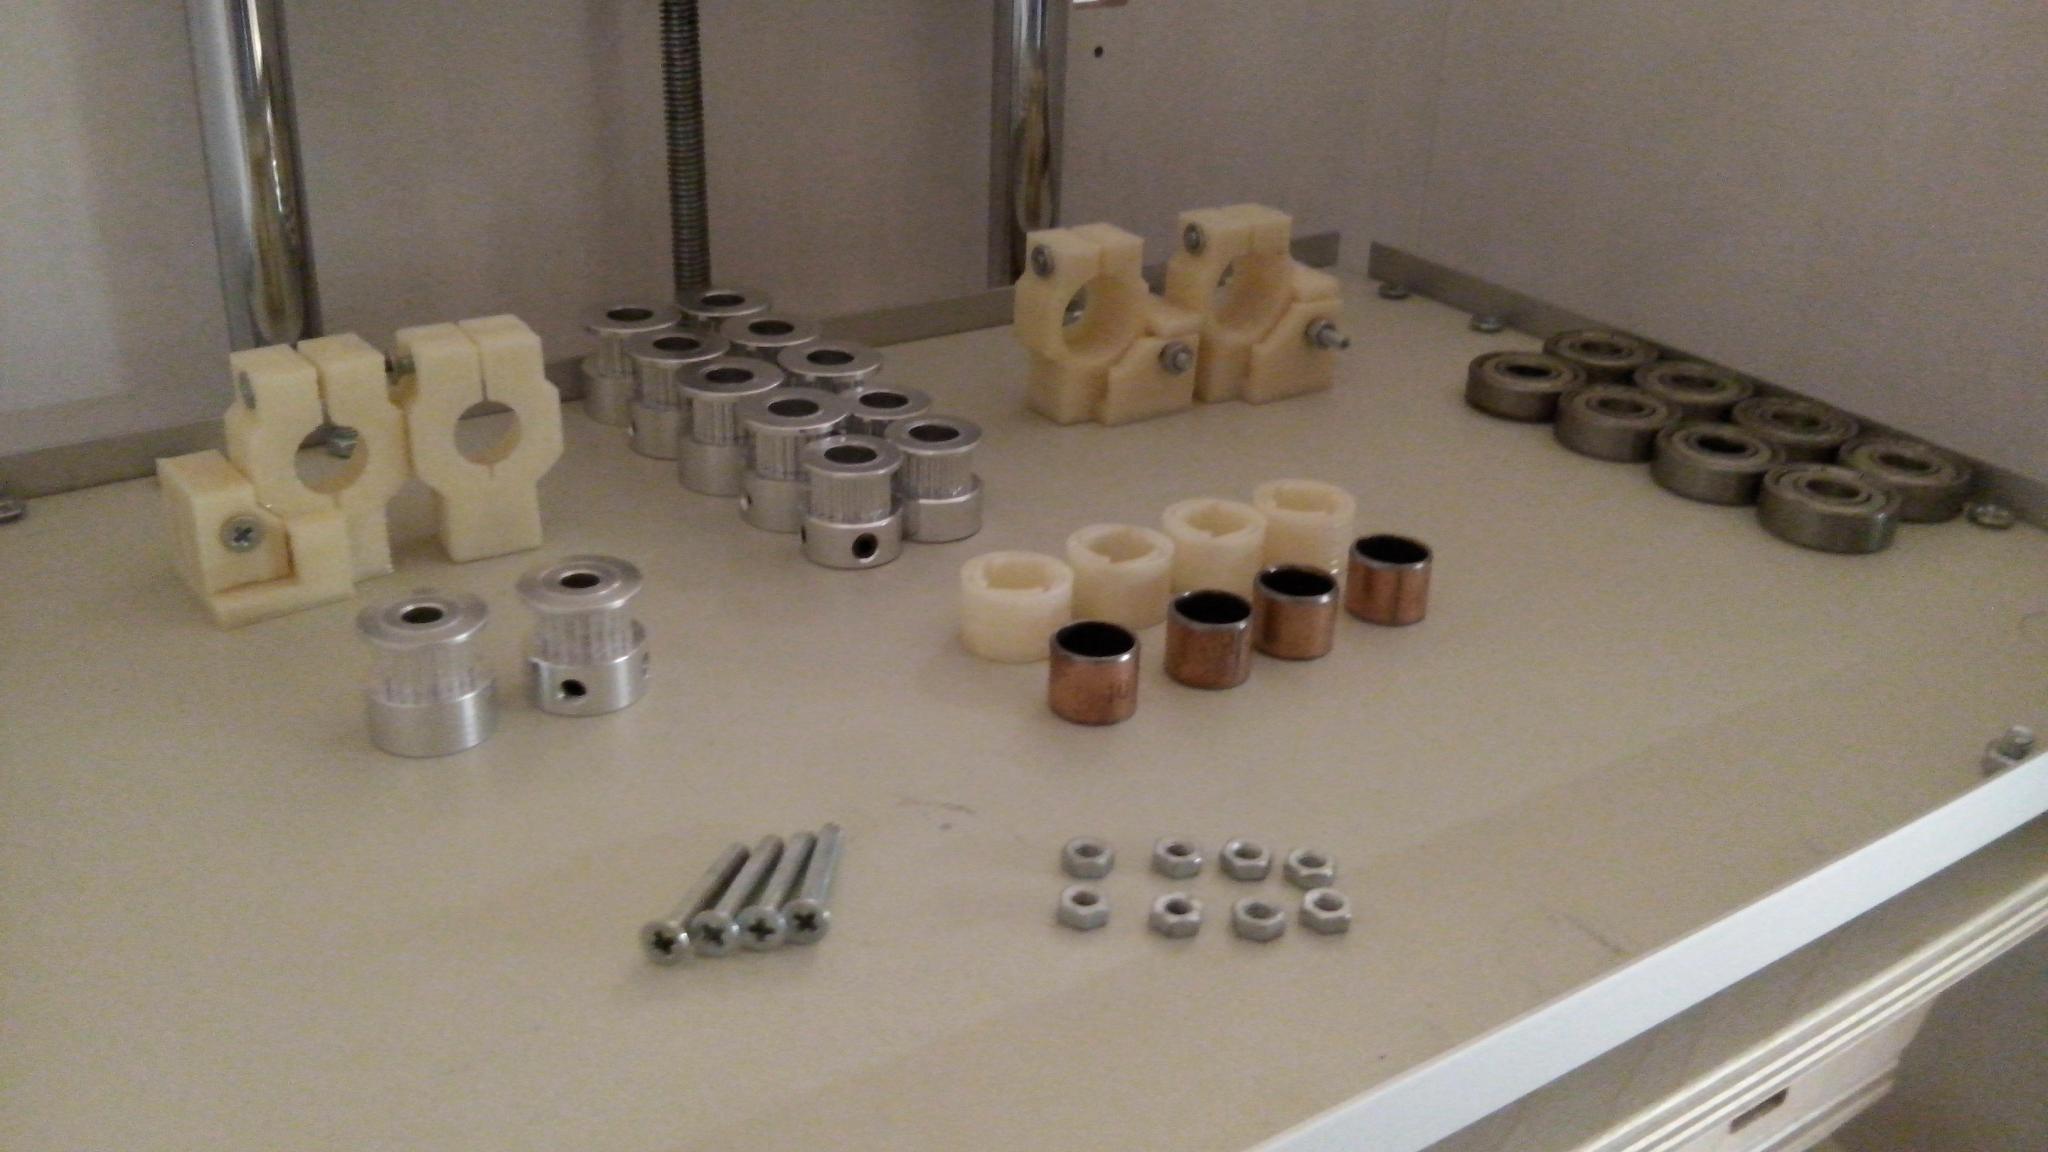
The bushings on the moving head I tried the bronze self-lubricating. While there is nothing special to say about these bushings, I printed a couple of models on the printer. I bought 10 pieces of bushings, 4 of them were with play. I think that these bushings are designed for radial rotation, they are hardly suitable for linear movement.
Now the printer prints badly, it is 100% dependent on the sleeves and guides, as well as on the pin with metric thread on the Z axis. There are ideas how to bring the printing geometry to the ideal, but I'll tell you about it when I try everything in practice.
It has not yet been possible to make kinematics fast-assembled. In the following modification will take this into account. Put the motors on the dampers to reduce noise. Not very nice, I was able to do the wiring with wires. I don’t like the long tube from the extruder to the hot-house, and don’t like that it is sticking out of the printer, the top of the glass was planned. The front of the printer will be closed by a glass door, while it is also not. Rear electronics will be closed with a plastic cover with slots for air movement.
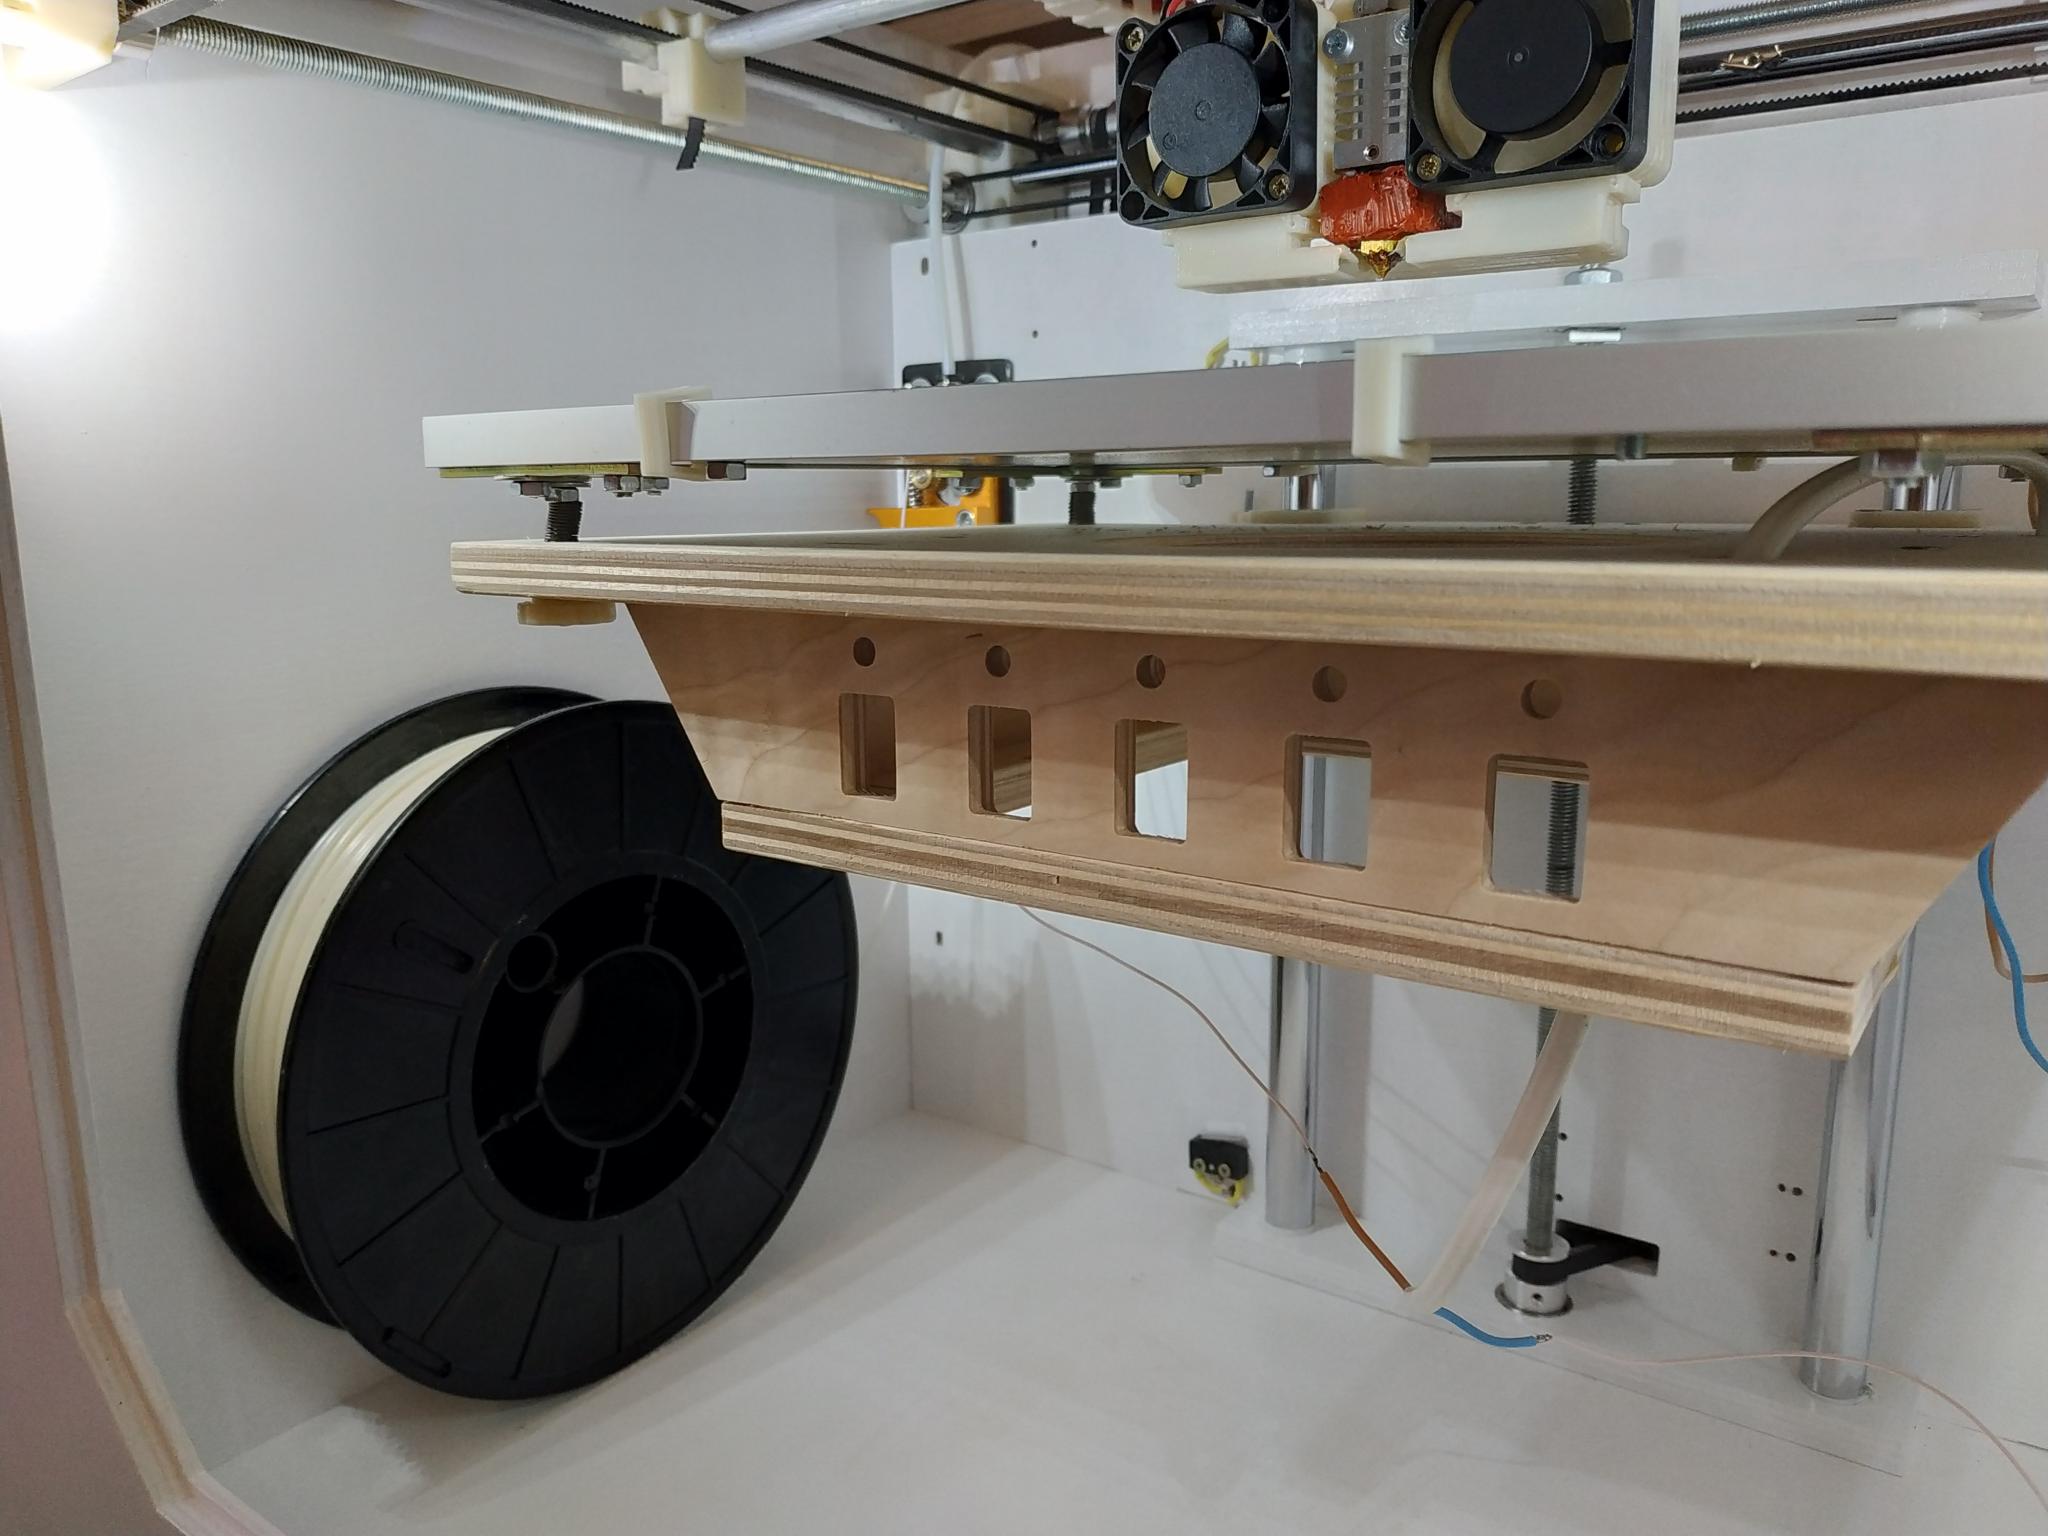
There are four switches on the right side of the front panel: the network, the light is common, the light is near the hot-house, the part is turned off. Under the table there is a panel with openings for LEDs and switches; this is the know-how to turn off the heating sections that are not used during printing. It is planned to make heating of several disconnected heaters, it saves great energy.
I made a desktop measuring 31 * 22 cm and planned to put a mirror. I decided to try borosilicate glass, the size of the glass ordered less than 200 * 213 mm, so there were empty spaces on the sides of the table. Printing on a borosilicate table without glue failed. Plastic did not want to stick to this glass at all, so most likely I will return to using a mirror.
Initially I thought that there would be windows with glass doors on the sides of the case. The first building of chipboard had these windows, but since the printer is between the wall and the table, there is no sense from the windows. Therefore, the walls remained intact, inside these walls will be mounting for the coil with plastic.
Someone noticed, there is no screen with controls. You can put the screen. I deliberately refused it, because just control from the computer. I didn’t need to print from a flash drive and is hardly foreseen.
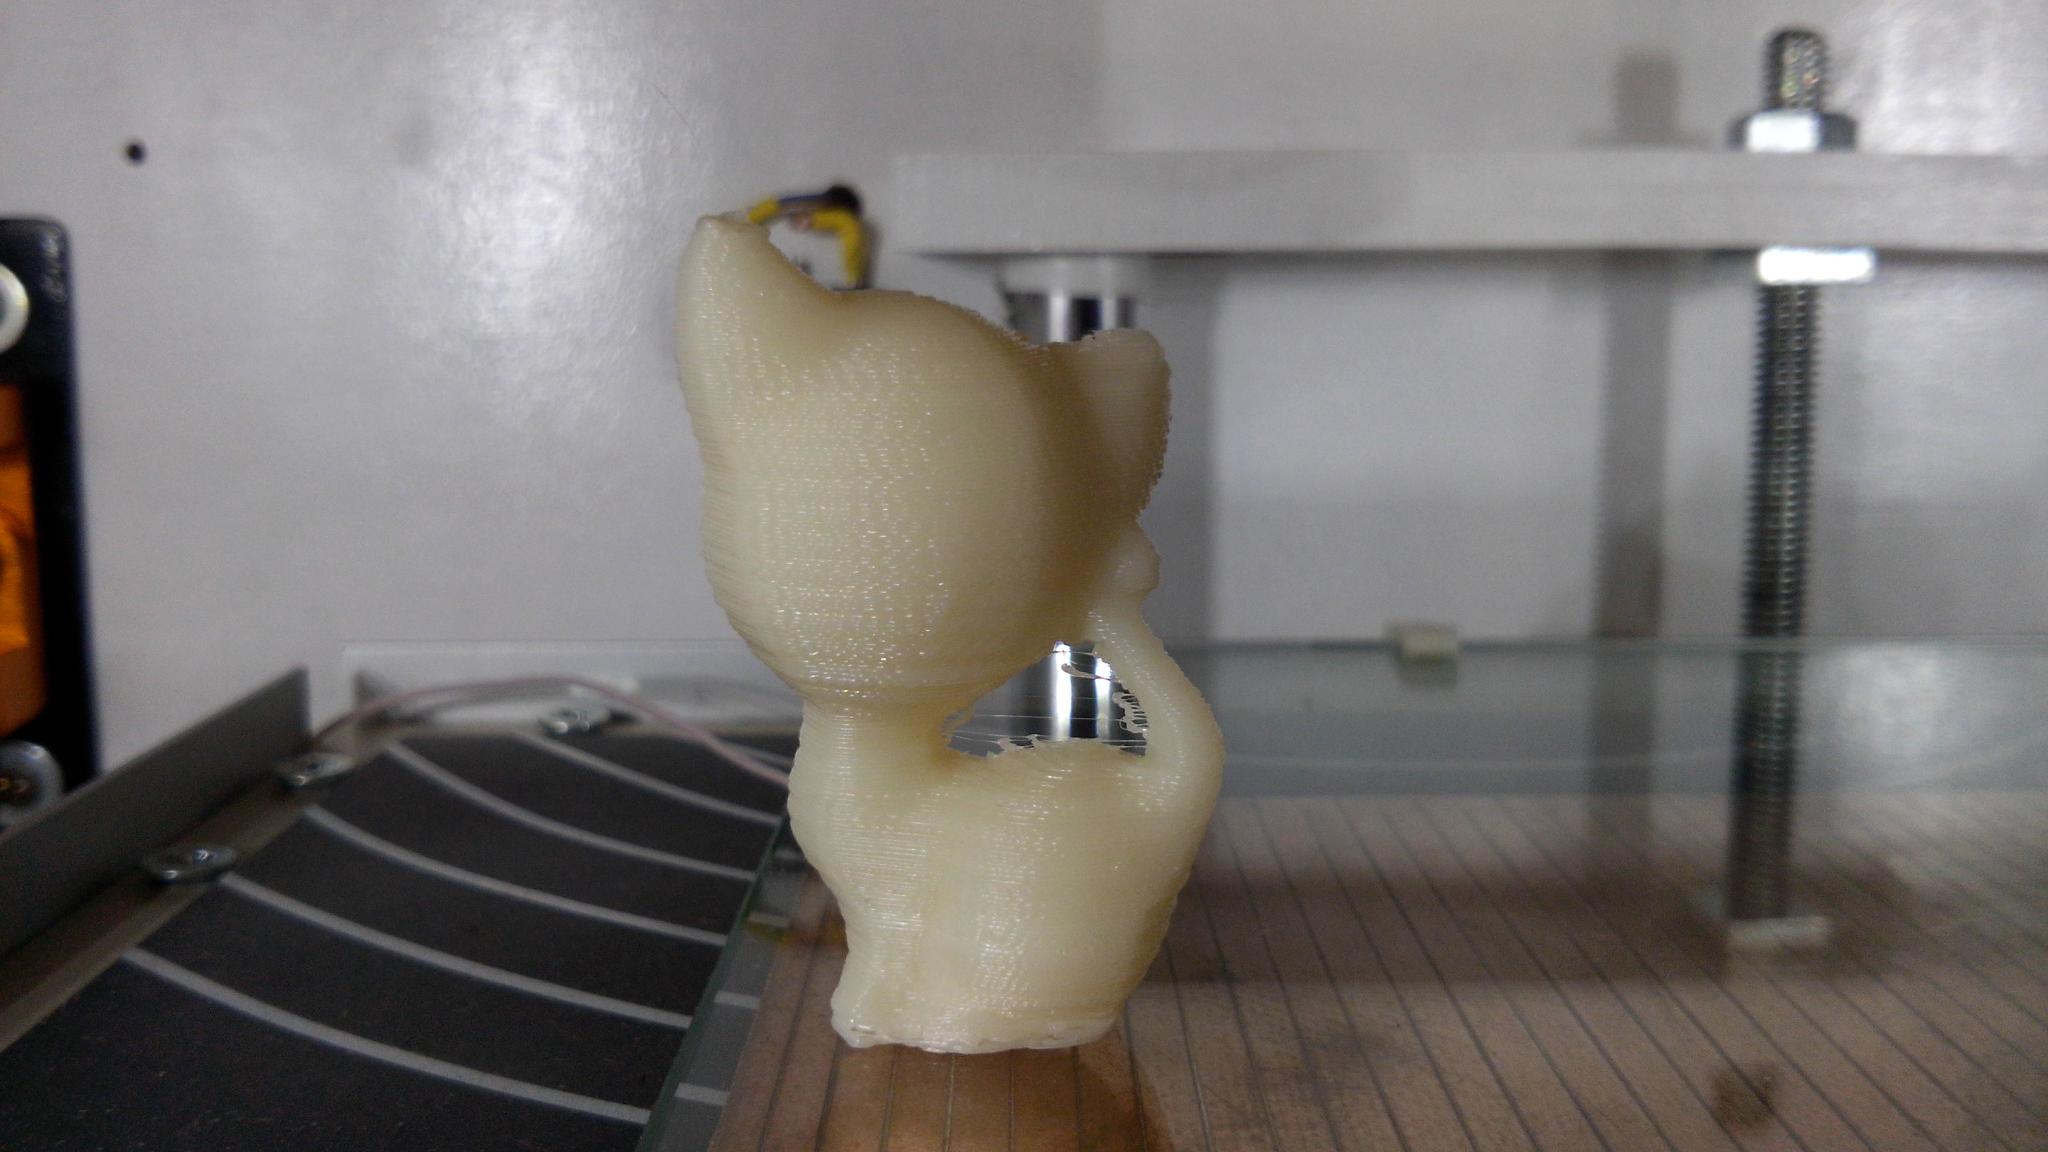
That's all for now. And what is silent, I will answer in the comments. The printer has printed only a couple of cats at a speed of 100 mm / sec. The daughter of the seals is incredibly happy, so the work has been done for the benefit. There is a whole list of several dozen models that I really want to print in high quality. There are many interesting improvements ahead, it will be interesting. All good!

Add comment
Random DIY
-
 Today, instead of round guides, the printer received square, using a conventional aluminum profile tube with a cross section of 20 * 20 mm. Bearings roll along the pipe 623zz. All plastic parts were printed on the same printer before it was altered.
 -
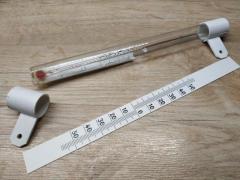 This thermometer hung outside the window for several years, due to temperature changes the plastic mount literally crumbled into small pieces in hands. Repairing a thermometer with a 3D printer cost ten minutes of modeling and a few grams of plastic.
 -
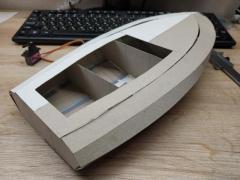 I thought for a long time to print the case on a 3D printer or to do it manually. It’s easier to print, but I decided to do the first boat with my own hands. I used cardboard as the main material.
 -
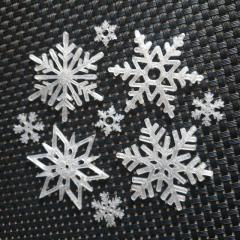 Snowflakes can be hung on a Christmas tree, decorated in the interior, or sewn onto a New Year's costume. You can make earrings from them :)
 -
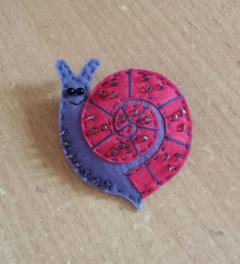 I had a new passion - brooches of felt. Such small, lovely - they can be an independent gift or an excellent surprise to the main.