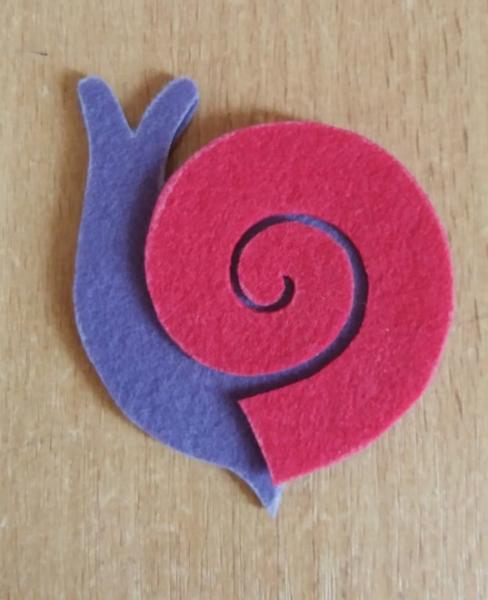
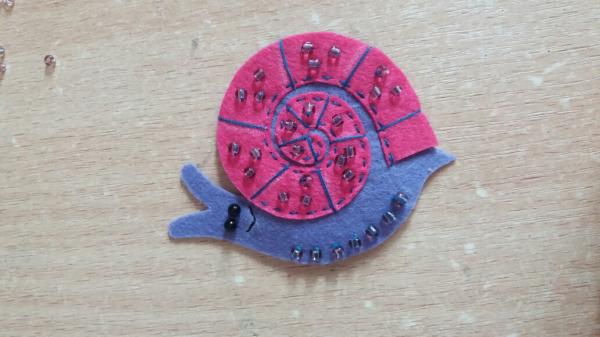
Brooch made of felt snail. Master Class.
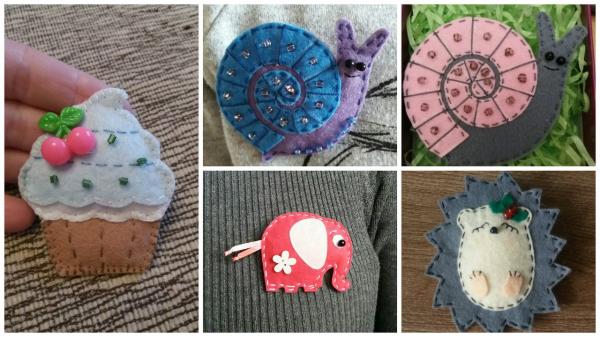
I had a new passion - brooches of felt. Such small, lovely - they can be an independent gift or an excellent surprise to the main. And how much they bring joy to the gifted!
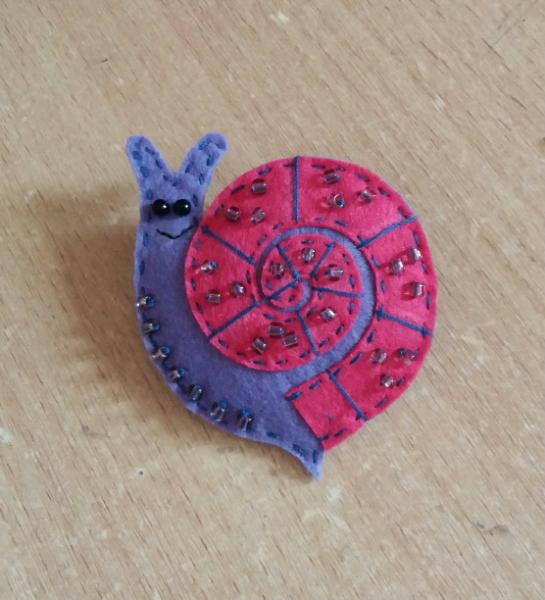
Today we will make a brooch of the Snail.
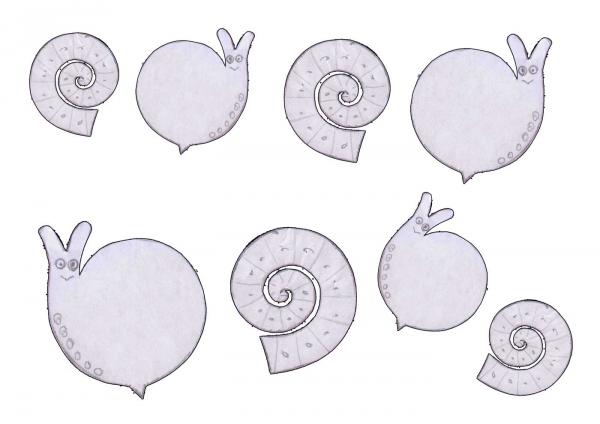
The size of my cochlea is 6 * 6 cm. I found it on the Internet. Really liked the idea.
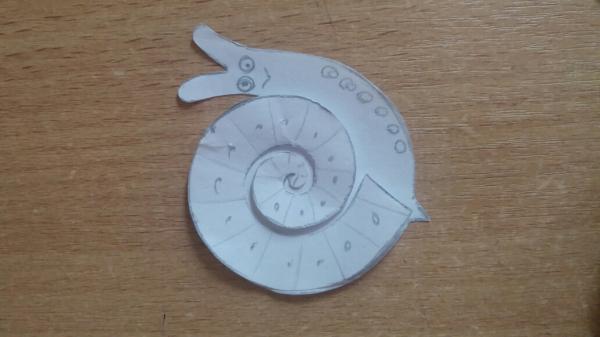
Click on the picture below to enlarge and save the snail's drawing to your computer. Print on the printer and cut out the snail's size.
She made a curve and started to create!
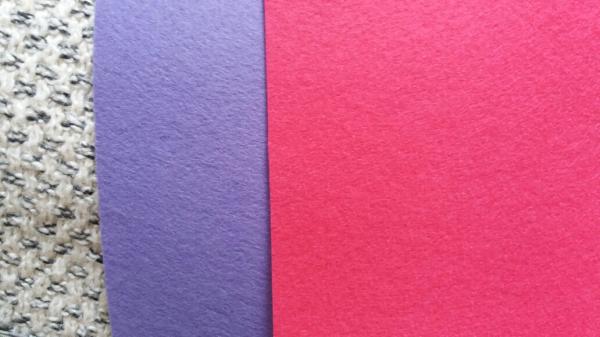
Choose a felt by color.
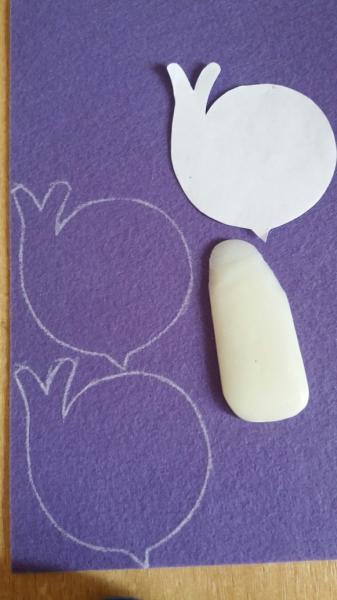
We translate details on a fabric. I do this with soap. Not very comfortable. There are self-destructive markers, but be sure to check them on a separate piece. There are surprises.
Of the main color, we have 2 parts. Upper and lower parts.
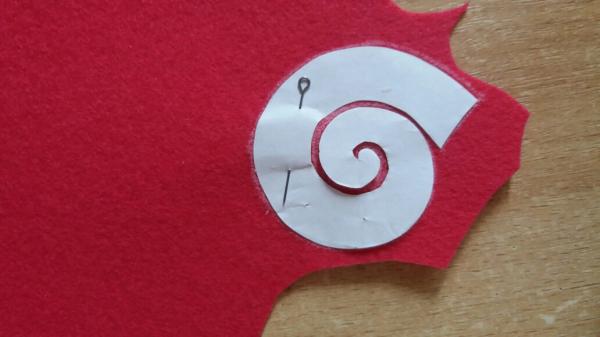
We cut out the shell (1 piece).
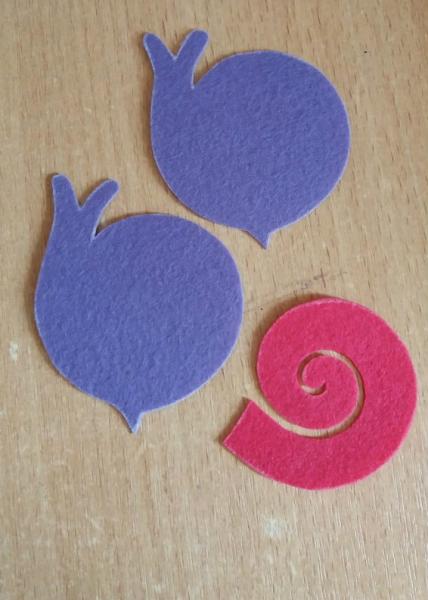
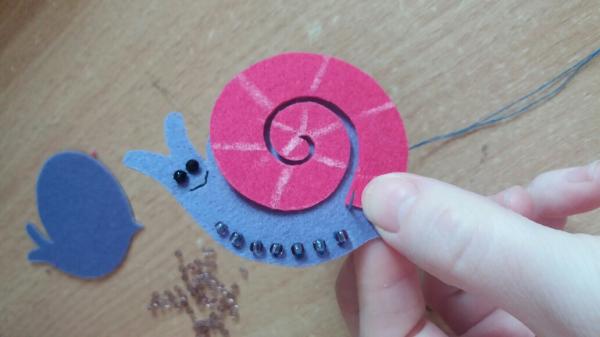
Cut-out parts.
We try)))
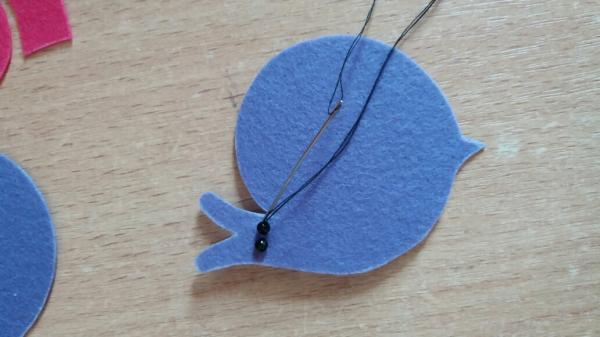
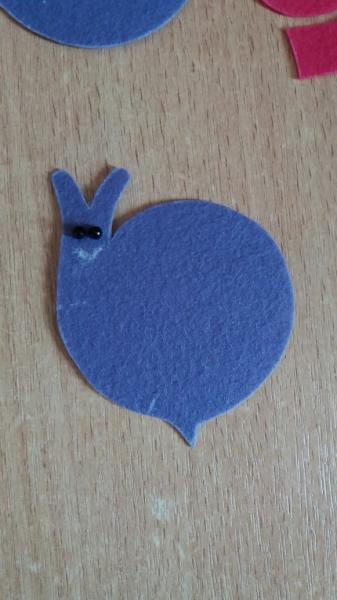
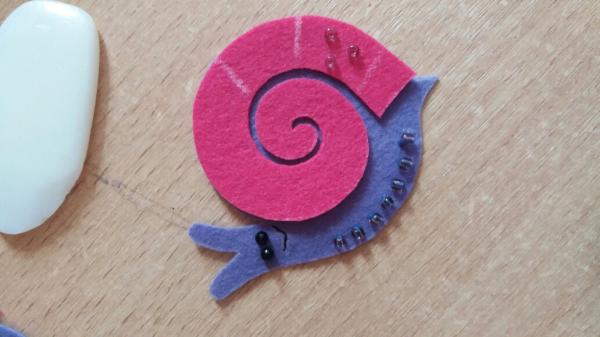
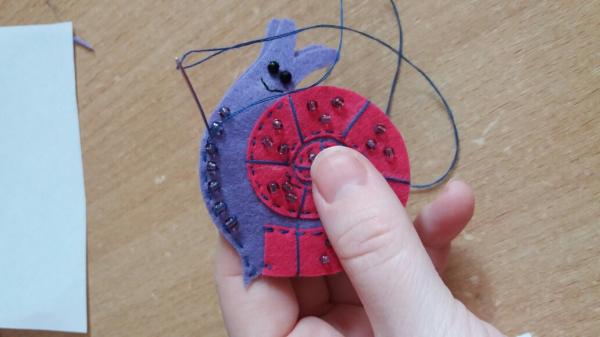
We take the upper part of the body and sew on the eyes - beads.
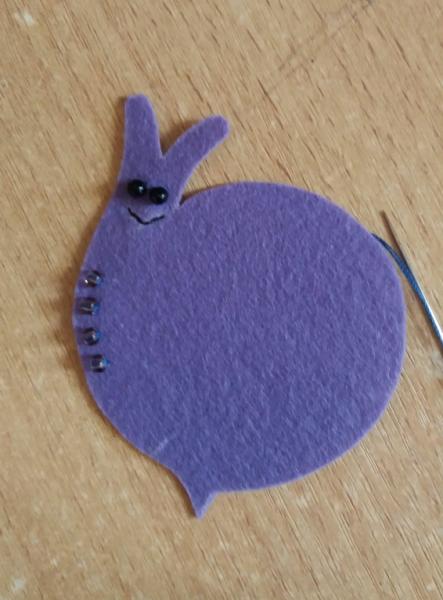
Draw a smile and embroider it. I embroidered an ordinary thread in two pieces.
Sew the beads on the body. I made myself a mark where they will begin and end. Sewing twice in each bead.
We point out the location of the beads and the dash risks on the shell.
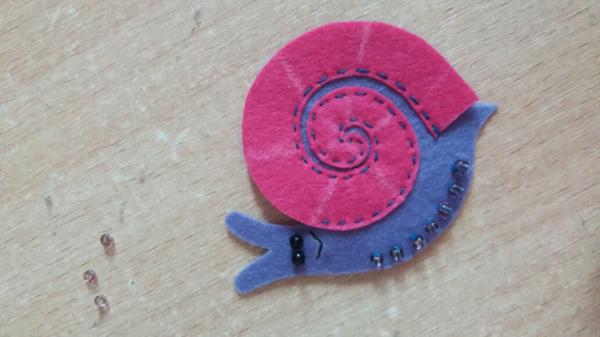
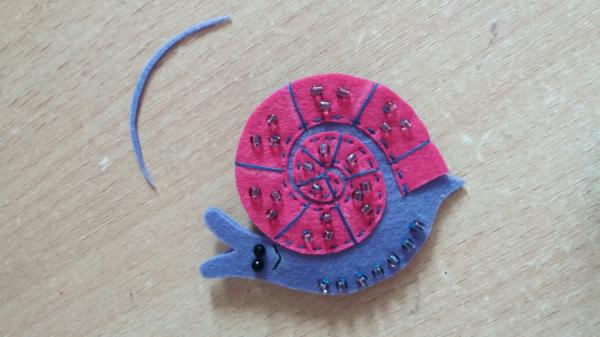
We begin to sew the shell from the inside. First double stitch for strength. Pave the stitches close to the edge.
We reach the place in the photo and stop. The outer part of the shell is sewn when we collect the snail.
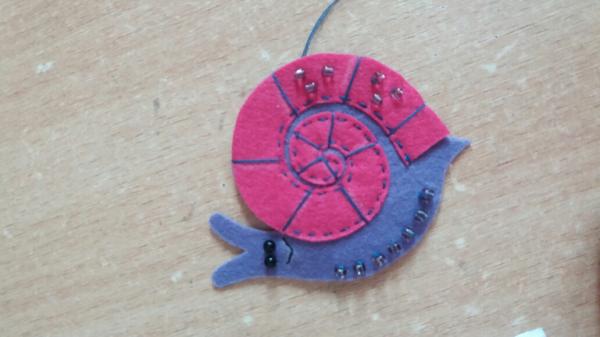
Sew the beads on the shell. Stitch risks.
Closer to the center sewing on one.
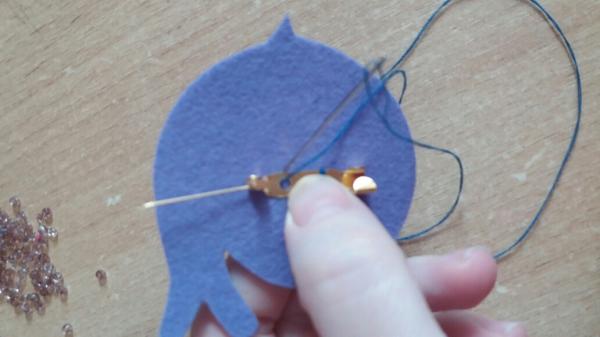
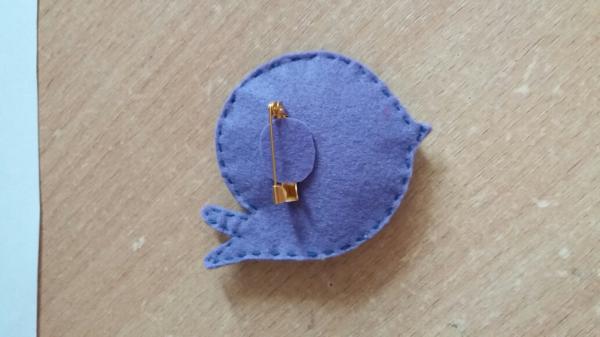
Take the second detail of the cochlea (bottom) and sew the clasp. We dispose not in the center, but slightly closer to the top.
We fold the parts and, if necessary, trim.
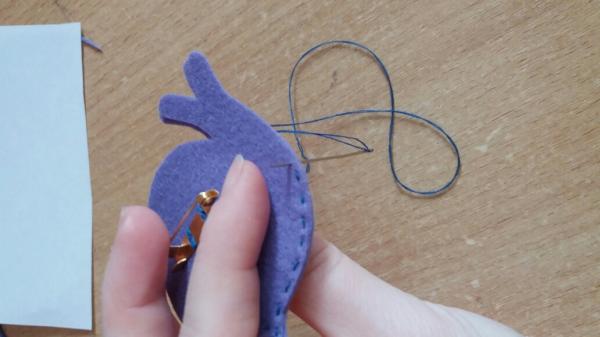
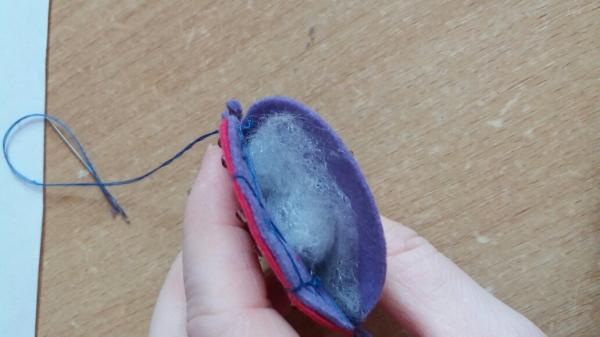
We begin to sew a cochlea. Combine the edges and follow the exit point of the needle from the back.
Sewing approximately half, fill with a synthepon or other filler. Lackily, so as not to stick too much.
Almost ready!
Now we will strengthen and hide the place of sewing the fastener. Cut and paste a small circle or oval of felt. I stick a thermo gun. You can just sew a secret stitch.
Enjoying the finished work!
Add comment
Random DIY
-
Candles in the shape of eggs perfectly complement the Easter holiday. The unusual shape of the candle very much like the grandmother.
-
Almost all toys bought for the daughter do not cause the child's interest, which can not be said about developing toys made by themselves. Below is a photo of the simplest developing mat, which the wife made for a couple of evenings from old buttons.
-
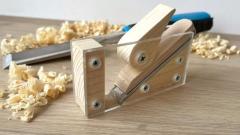
A simple planer from an old chisel, a couple of pieces of wood and two pieces of plexiglass.
-
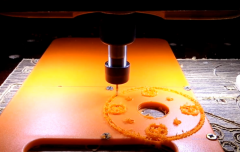
I made this CNC machine myself in 2015, videos of the same year. For a long time I was asked to make a video on the assembly of this machine, later my hard drive broke, by some miracle I found some materials on this machine on another medium. After almost 4 years I will publish the materials, as I did with my own hands a CNC machine tool from the available materials.
-
Hello, dear friends! My name is Dmitriy or just Dima :) I'm the creator of the ModelMen.ru site, I did it specifically to collect the most interesting ideas and handicrafts created by myself.
