Children's chair own hands (drawings dwg)
It all started with the fact that I had a daughter :) Now she is 1.3 years old and she has already learned to deftly sit down to her daddy on her knees and read a book. Each child, like an adult, should have his own chair. Searches in children's shops were unsuccessful, the chairs are all plastic and large or with a hole for the pot. We needed a normal chair for sitting, for a very small girl.
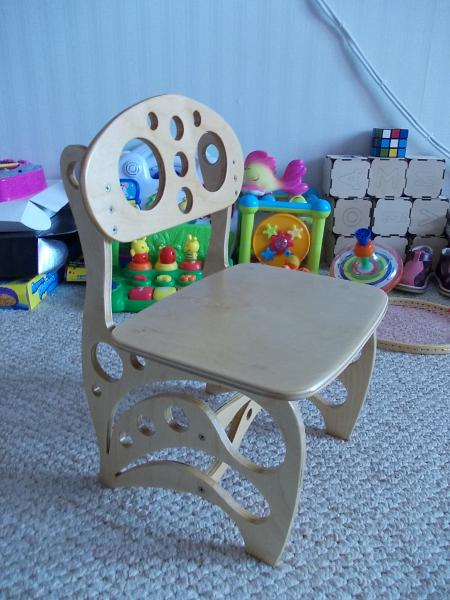
Here he is a stool, made by himself for a couple of evenings, not a work of art, but very comfortable and the daughter has taken a look!
Drawings of no originally was not, everything is done by eye.
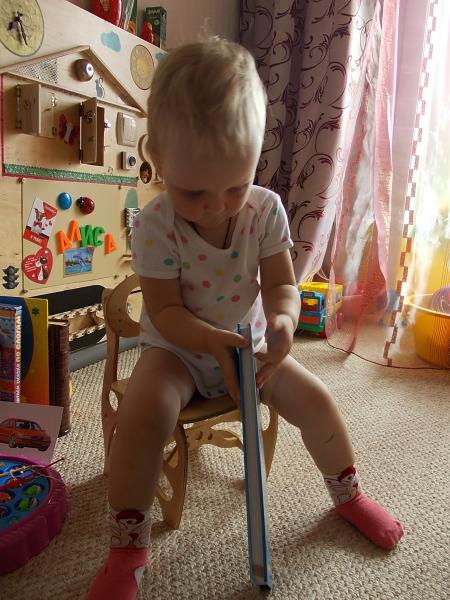
On the photo My daughter is already sitting on a new chair :)
The highchair is made of 8 mm plywood. The parts are glued together with PVA glue, several screws and the whole construction is coated with an uncoated varnish in one layer. The weight of the stool is 715 grams, the child quietly drags him around the apartment.
Height from the floor to the seat of 180 mm, the size of the cover for sitting 240х190 mm, the height of the chair from the floor to the top of the backrest 360 mm, the backrest dimensions 235х115 mm.
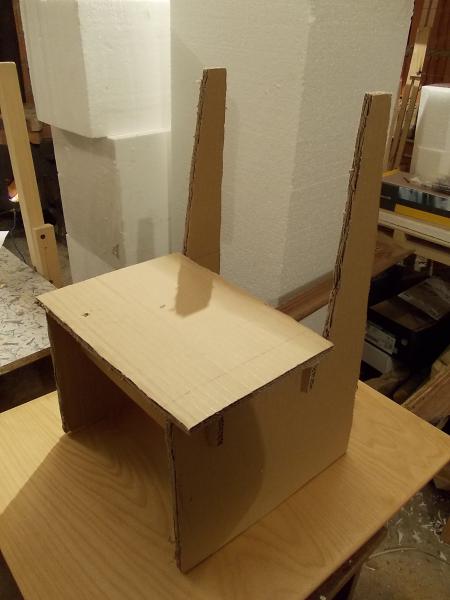
The test version of the chair was made of cardboard in three minutes. It was made in order to get an approximate size and understand how comfortable it will be for the child. To sit the kid on this chair did not work out very well, but in size it turned out to be all right!
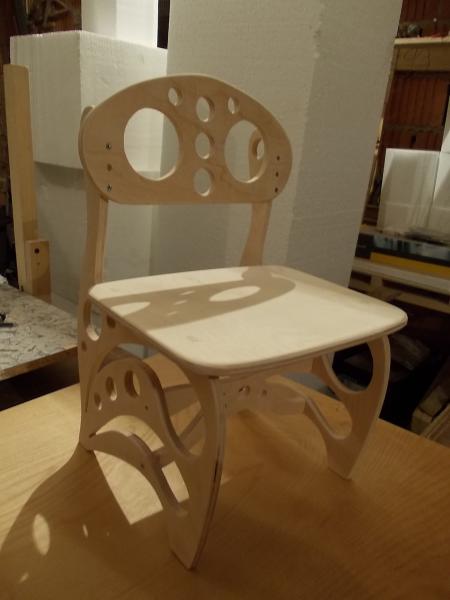
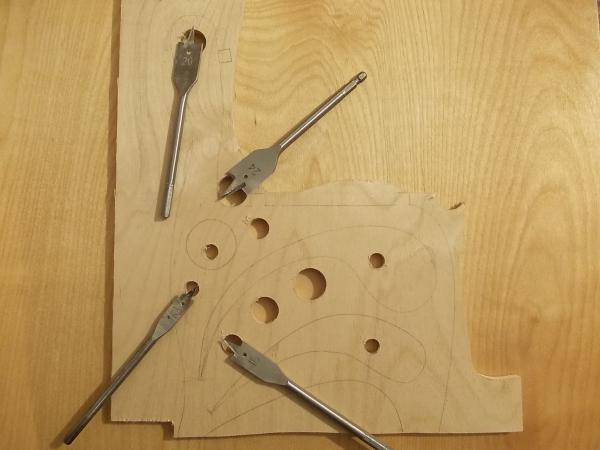
Further on pieces of plywood with pencil I drew the details of the chair. First drilled holes with perovy drills, everything by eye :) Large holes sawed by an electric jigsaw.
To make the second part of the chair, I simply sketched the first pencil and also cut it with a jig saw.
By the way, I must say about the connection of parts. Initially, I intended to do everything without screws and nails, and since everything was done impromptu, there were no mistakes. On the picture below it is seen that the parts have thorns, the detail on the right of one spike is not enough, I forgot to draw and sawed it :)
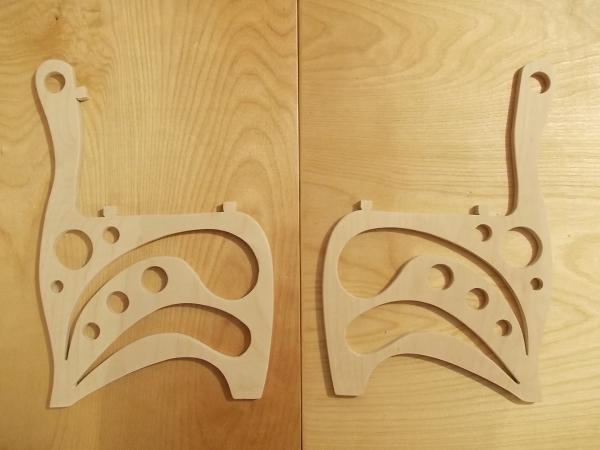
I spiked the parts on the left later, too, sawed, so the back had to be fastened with screws.
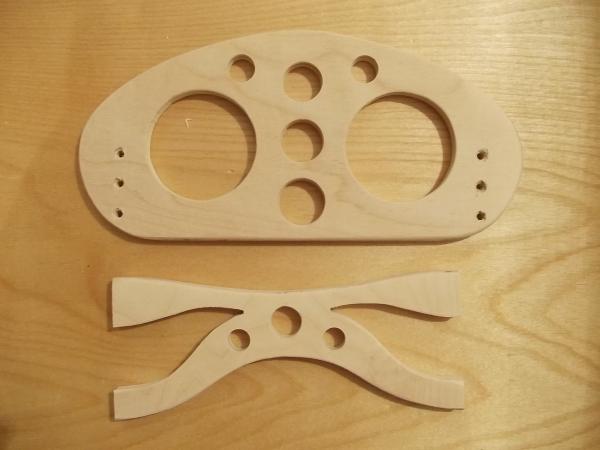
Below in the photo the detail of the backrest and the detail that is under the seat, it does not allow the chair to swing. On this detail, too, there should have been thorns, about which I also forgot :)
After all the details of the chair have been cut out, everything needs to be cleaned with sandpaper, I spent a lot of time on it, so that not a single skate! After all, we glue the PVA glue or twist the screws, if suddenly you like and I forget to make the spikes :) Finally, we cover the product with a layer of varnish or as now fashionably do decoupage. I would like to paint the chair with bright colored paints, but so far I have left a pure color of the tree.
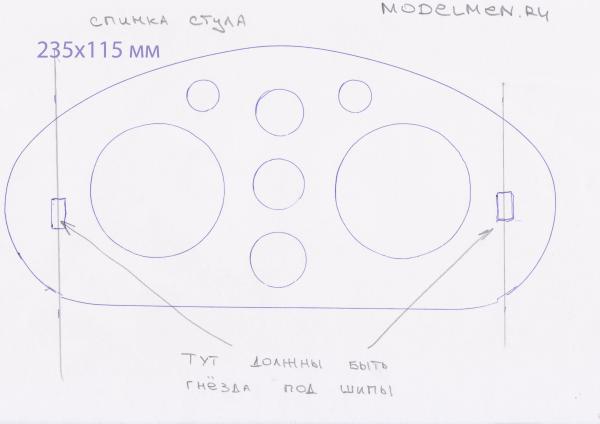
It's time to share the drawings. As such, there was not, and so I just skimmed the details on paper, drew the missing spikes :) and scanned.
Update: Cut a few such chairs on the CNC, so I had to move the drawings to AutoCAD.
Alice: & quot; And still I'll sit on Papa's chair!" :)
Send photos of your chairs and happy smiles of kids, the address of the mail on the page contact.
Add comment
Random DIY
-
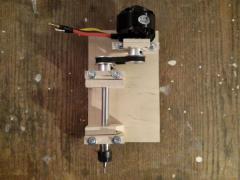 The idea of assembling a homemade CNC machine appeared long ago. Lack of knowledge and necessary details. Today there is everything!
 -
 A friend said like acoo kie, his wife said some windows :) And yet they spin!
 -
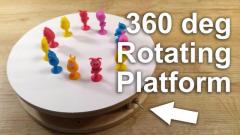 This small turntable is needed when you need to photograph something or shoot a video in 360 degrees. For the assembly you will need an old CD-drive, a couple of pieces of plywood, a box for batteries, a switch, wires and other trifles.
 -
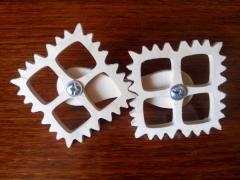
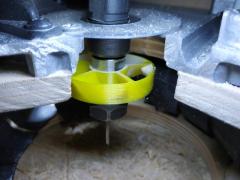 The 3D model of the fan is very simple, easily wound on a collet clamp. I put it on my CNC machine. The first launch proved to be very good, all the chips are scattered to the sides, clean under the cutter.
 -
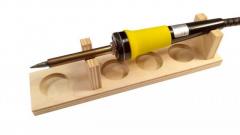 I decided to update the old, already charred stand for the soldering iron. Simple and does not take up much space on the table.